Whether you’re building a kitchen, fitted shelving, wardrobes or another custom cabinet project, your individual units are only a part of the design process.
To accommodate typical build and assembly issues and complete most projects efficiently, you will often be adding fillers and plinths.
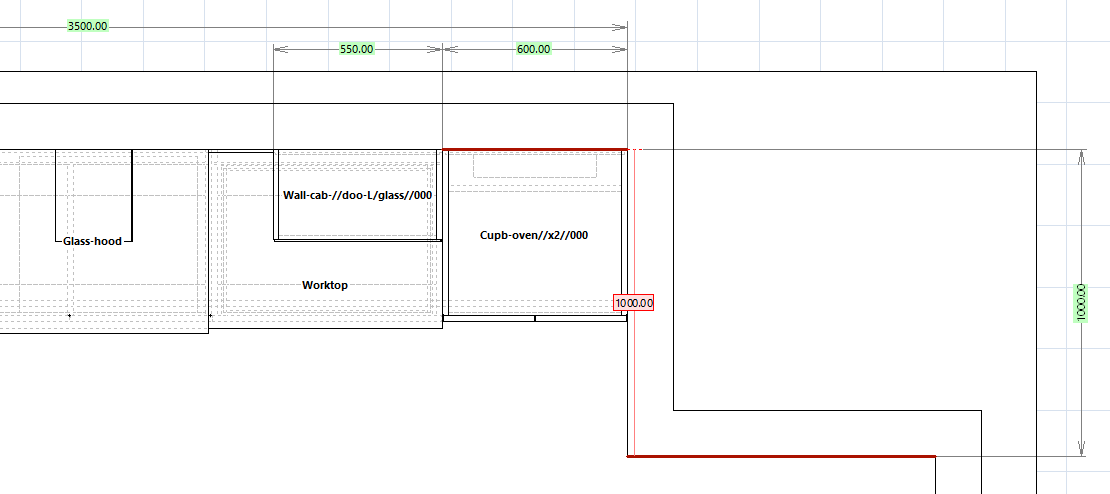
Kitchen, utility room and some commercial projects will also require you to add worktops.
These aren’t cabinet specific, they relate to the whole project layout.
Inside Polyboard’s Project Mode, you are able to create a dimensioned room/project layout and fit your cabinets into it.
Once you’ve done that there are some very neat and quick features available to add all of those assembly details, we’ve got a video on each below, plus another on cover panels where these are needed too.
Before we move on, just a note that there are various ways you can add some of these details to an individual cabinet (see the Polyboard carcass video tutorials page for details), but we want to focus here on the entire project functionality.
The benefits of including these features in Polyboard
If you can add these elements to your design rather than afterwards you get a lot of advantages:
- First of all, check out the length of each video. These details are very quick to apply. And once you’ve done that…
- All the manufacturing details are included in your cutting list, plans, CNC files, and in your price and material report.
- If you are exporting to OptiCut to create a cutting map, these parts will be included there too for the best possible use of materials.
- They can be modified just like any other panel, so you can change material and add cut outs and other toolings for example.
- You‘ll know these extra parts will be accurate and fit perfectly into your project layout to within a fraction of a mm or inch.
- Extra production steps are kept to a minimum.
In short, you’ll work faster, with less errors, and save time and money.
Let’s take a look at fillers first.
Fillers
It’s as simple as selecting a wall and adjacent cabinet and applying. But you can reposition, recess easily too.
Plinths
Nice and simple again, select a group of units and the floor and set up your plinth.
Worktops
Another quick application, then create overlaps as you like, update to a specific material of choice, add sink cut outs and more.
Cover panels
If you build your cabinet carcass in a cheaper material and want to cover this, or if you assemble using visible hardware like screws that again you want hidden, you may be looking at adding cover panels.
This is very quick and easy to do in Polyboard and because it’s included in the project you’ll have them in your cut list, plans, CNCs files and as part of the overall price.
You’ll also be able to confirm they fit just right into your project dimensions. So no nasty surprises on site.
How to get started
Polyboard offers many more features to make design and manufacturing faster, easier and more reliable than ever before.
Register here for free to test it out today
Click here for more details on Polyboard including versions and prices
And please contact us if you would like an online demonstration or require more information.