Part of our ‘Staircase Basics’ Guide
Stair parts can be assembled with many different type of joints. The type of joint you choose will depend on several different things.
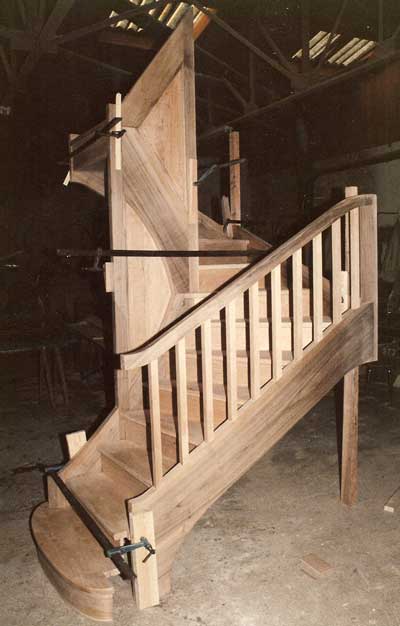
Of key importance is where the stairs will be assembled.
Assembling a stair in a workshop is usually very easy compared to assembling the same stair on site.
On site stair assembly can be very tricky especially if the assembly joints have not taken into account specific on site problems.
Problems you might encounter include:
Lack of space to assemble the stairs other than in the stairwell
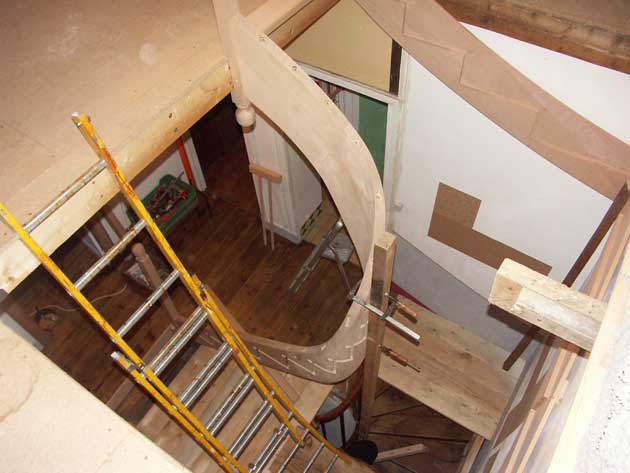
Walls that are not plumb or straight
On site objects (walls, pillars, etc.) that make it impossible to a add a bolt, screw a screw, or hammer a nail. Be careful also of stair parts (mainly steps) that need to back up to be assembled. What’s easy to back up in the workshop may be impossible with both strings against a wall.
Wood shrinkage
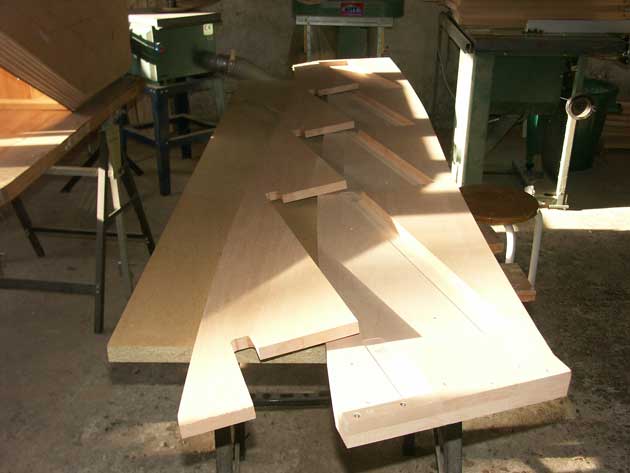
A known fact for all woodworkers is that wood shrinks (or expands) in accordance to the moisture content in the air, a little in length but mainly in width. The shrinkage is proportional to the width, so the wider the board the more it shrinks.
Now stair steps, risers and strings are usually made of wide 200 to 300mm boards that will always shrink as they dry out. So always allow for possible play when designing the assembly details. For instance I prefer to recess the steps into the face of the following riser rather than have the riser resting on the step.
This allows the back of the step to move forwards if the step width reduces due to shrinkage. Shrinkage is also one reason that I prefer bolting the strings to the newel posts rather than the traditional mortise and tenon. If the wood shrinks it’s easy to tighten the bolt. The amount of shrinkage will vary according to the wood species and its moisture content.
Always use dry wood at no more than 9%. But even if completely dry always allow for shrinkage. Using electrical heating the moisture content in a typical house can go down to less than 5% in winter and shoot up to 10% in a wet summer.
The tools you have at hand
If you have only the basic tools simplify your joints. Cut the jointing surface of strings and handrails directly with a circular saw and use handrail bolts or mechanical assembly hardware rather than mortise and tenons.
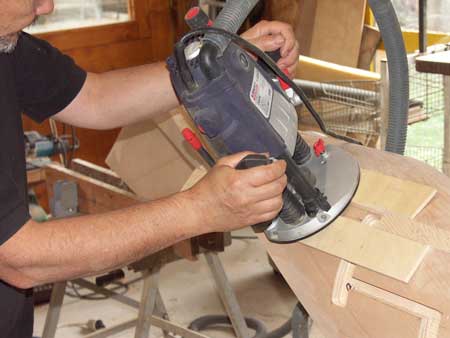
If you only have a small router, cut step recesses in accordance to your router and router bit’s diameter. Normally a step recess of 15mm is enough. However, if you are using a CNC router it might be faster to cut mortise and tenons and rout out the strings at 20mm.
Your woodworking experience
Design your stairs with joints you know how to make easily and have had experience making. If you have little experience in stair building you will have enough on your plate without having to try out new fancy jointing techniques. If you’ve never tried out a mortise and tenon with draw pin I suggest you use a handrail bolt.
Next Steps
I hope you’ve got a few new ideas to work with there.
Please do check out all the tutorials and our stair software at WoodDesigner.org.
New content is getting added to the site every month, so keep checking in.
Finally, I would really urge you to make the most of the forum. I’m there to help out if you need it, and there are plenty of other very experienced wood workers who are happy to lend a hand too.
Combined, these resources are designed to make your projects much easier, more enjoyable and save you time and money.
Good luck, and happy woodworking!
Ness
If you have any comments, please ask on our forum. Thanks!