I recently received an email from John an amateur wood worker sharing his experience in building a central cut string using my horizontal laminate technique.
This is an ambitious project for an amateur and John has certainly done a great job. He has agreed to share his experience on my website, so here it is.
************
Hello,
Thanks for letting me share my fantastic experience building this stair. And hopefully I can help any aspiring stair builder to do the same.
My stair is a quart turn with winders I designed with Ness’s help using Stairdesigner. After receiving the plans, I printed out the full size templates for the laminates. As I’m in the Reunion and can’t find 16mm dowels ready made y first job was to make the dowels on a spindle moulder.
I then prepared and cut to shape all the laminates.

I glued the paper templates onto the longest laminates and drilled the holes for the dowels….

The laminates were then glued up step by step using white glue. The dowels made everything line up perfectly.
Each block was then calibrated in a thickness planer, and all the blocks glued together and the under side cut using a saber saw and finished with a belt sander.


Here you can see the string hoisted up to verify dimensions.
The spirit level shows that everything has lined up perfectly!

To make the steps, I taped the paper step templates onto each board.

I used a portable circular saw to cut the steps around the template, very fast and precis.

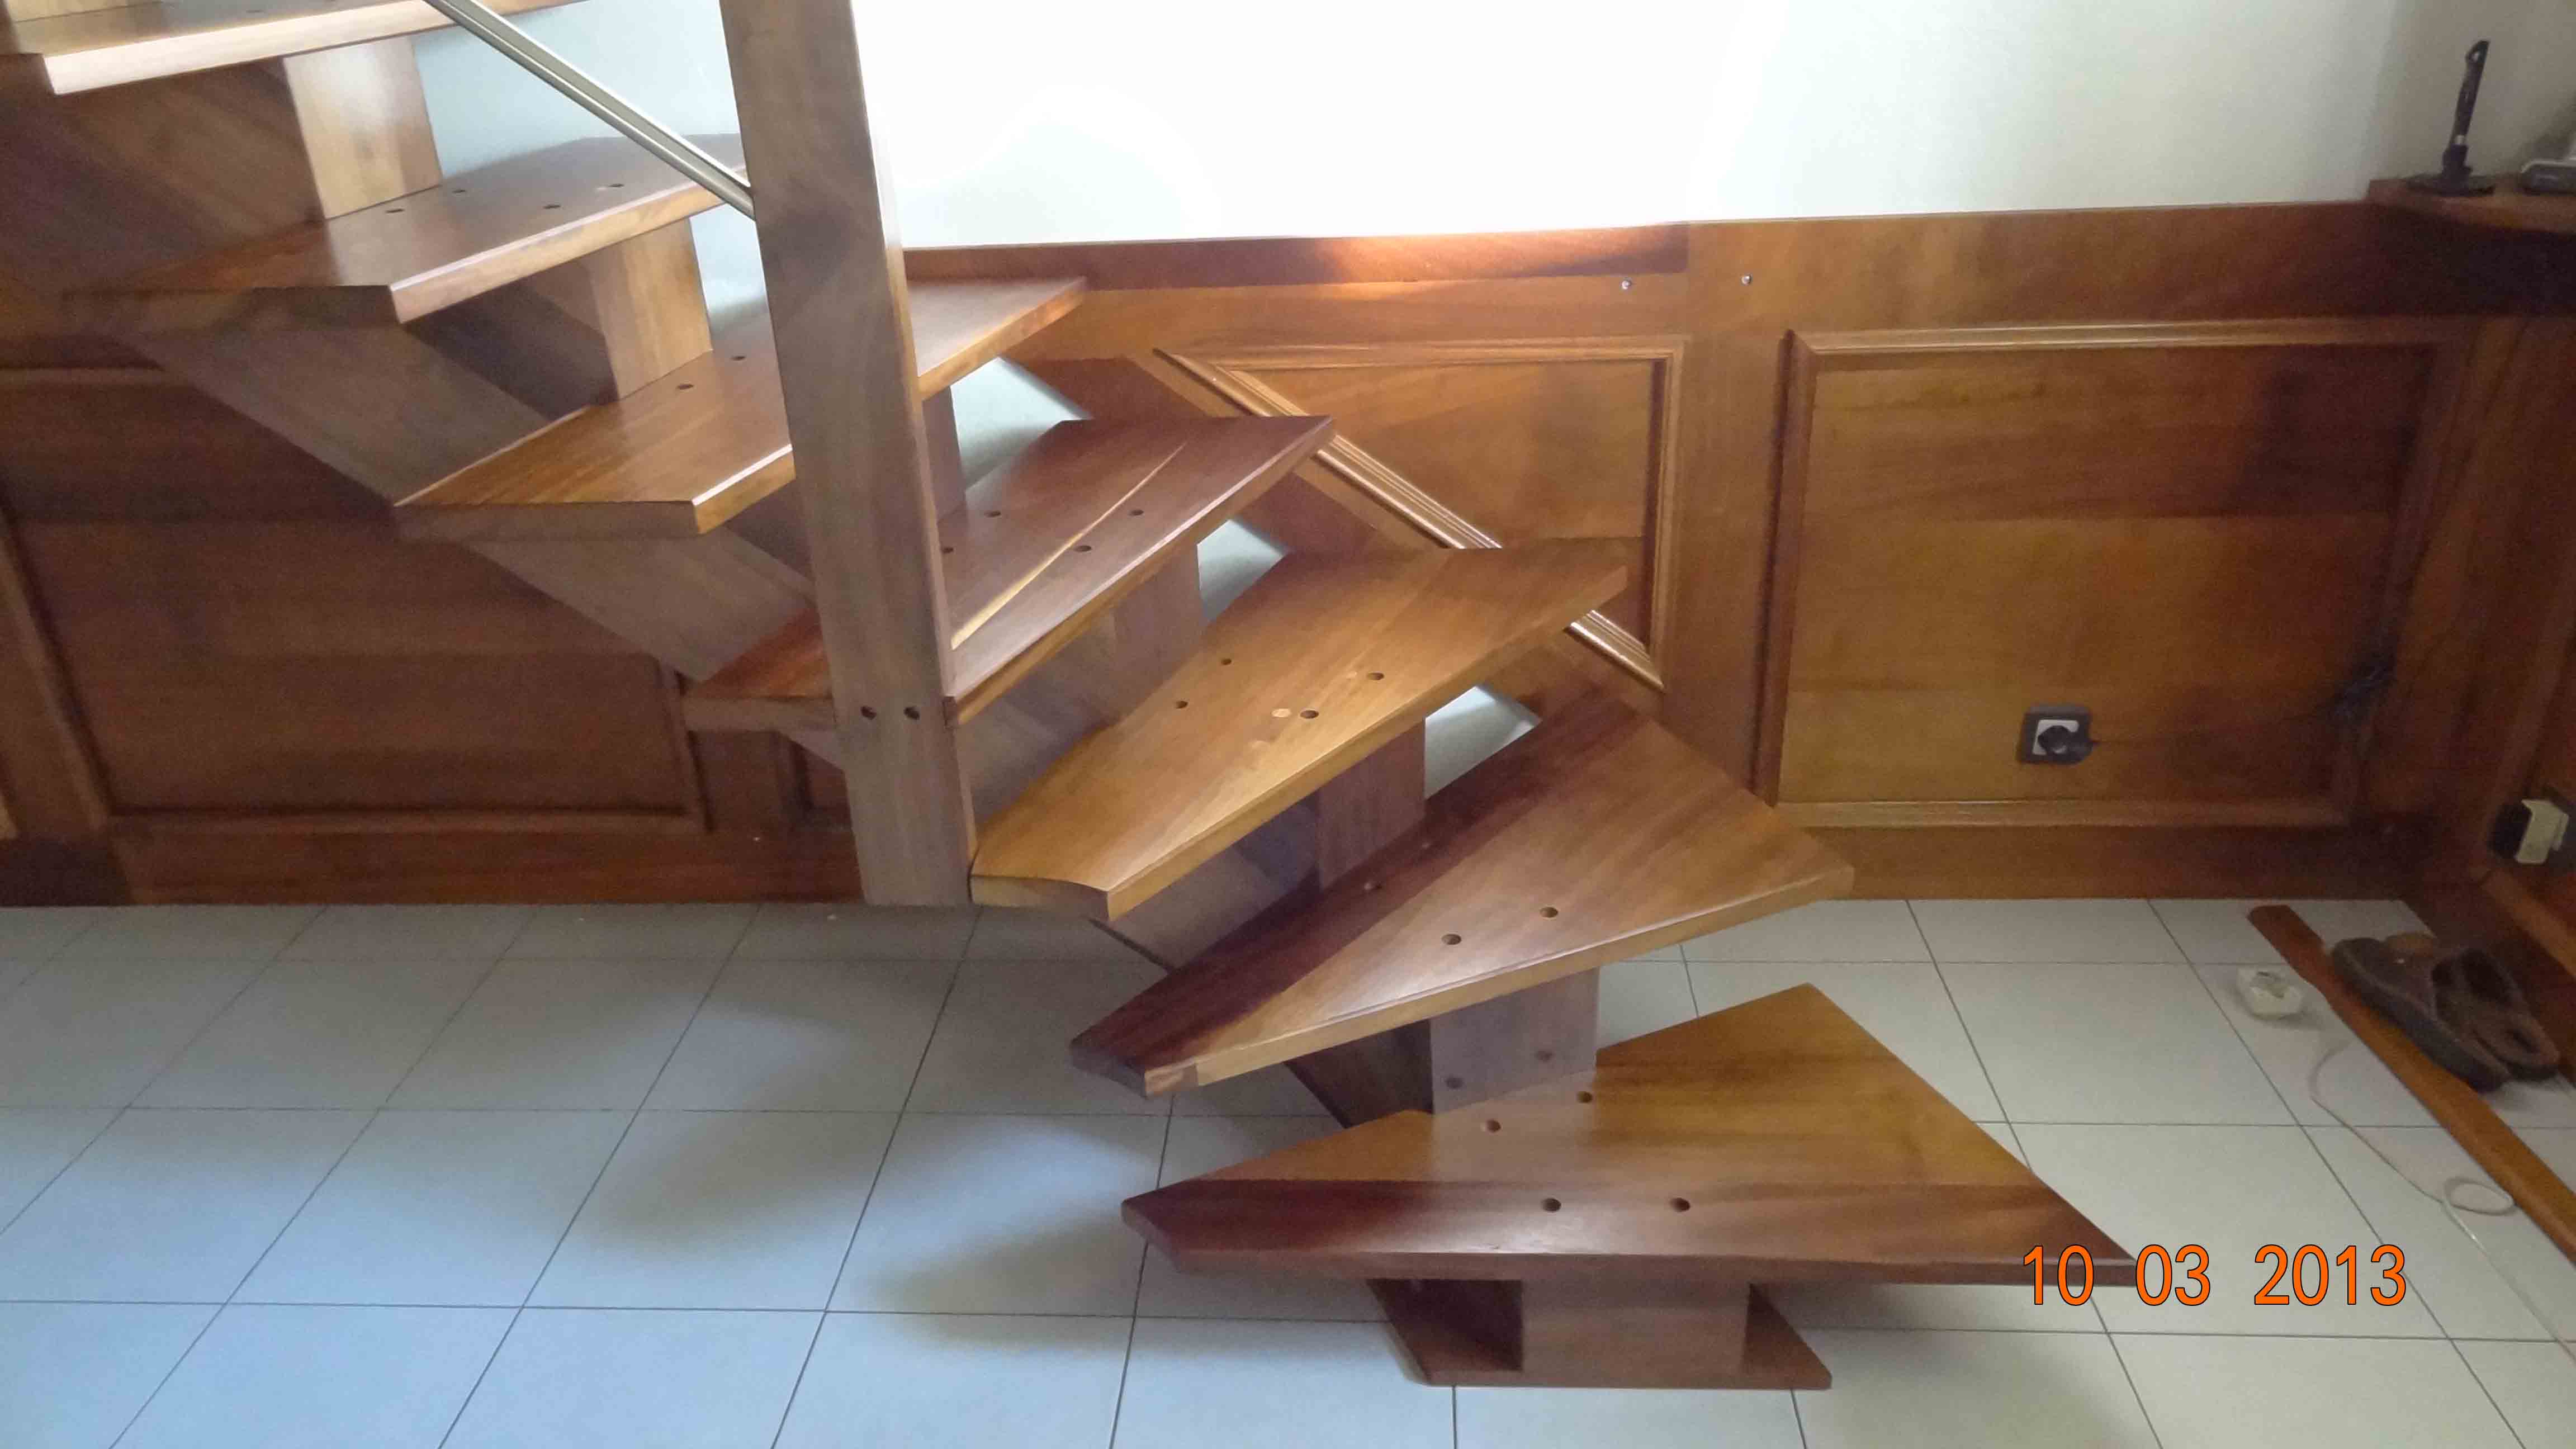
Steps are placed on the string to verify their positions before drilling the holes to fix them.

I didn’t need four screws to fix the steps as the back edge is held firmly in place notched in the string.
Well never mind.


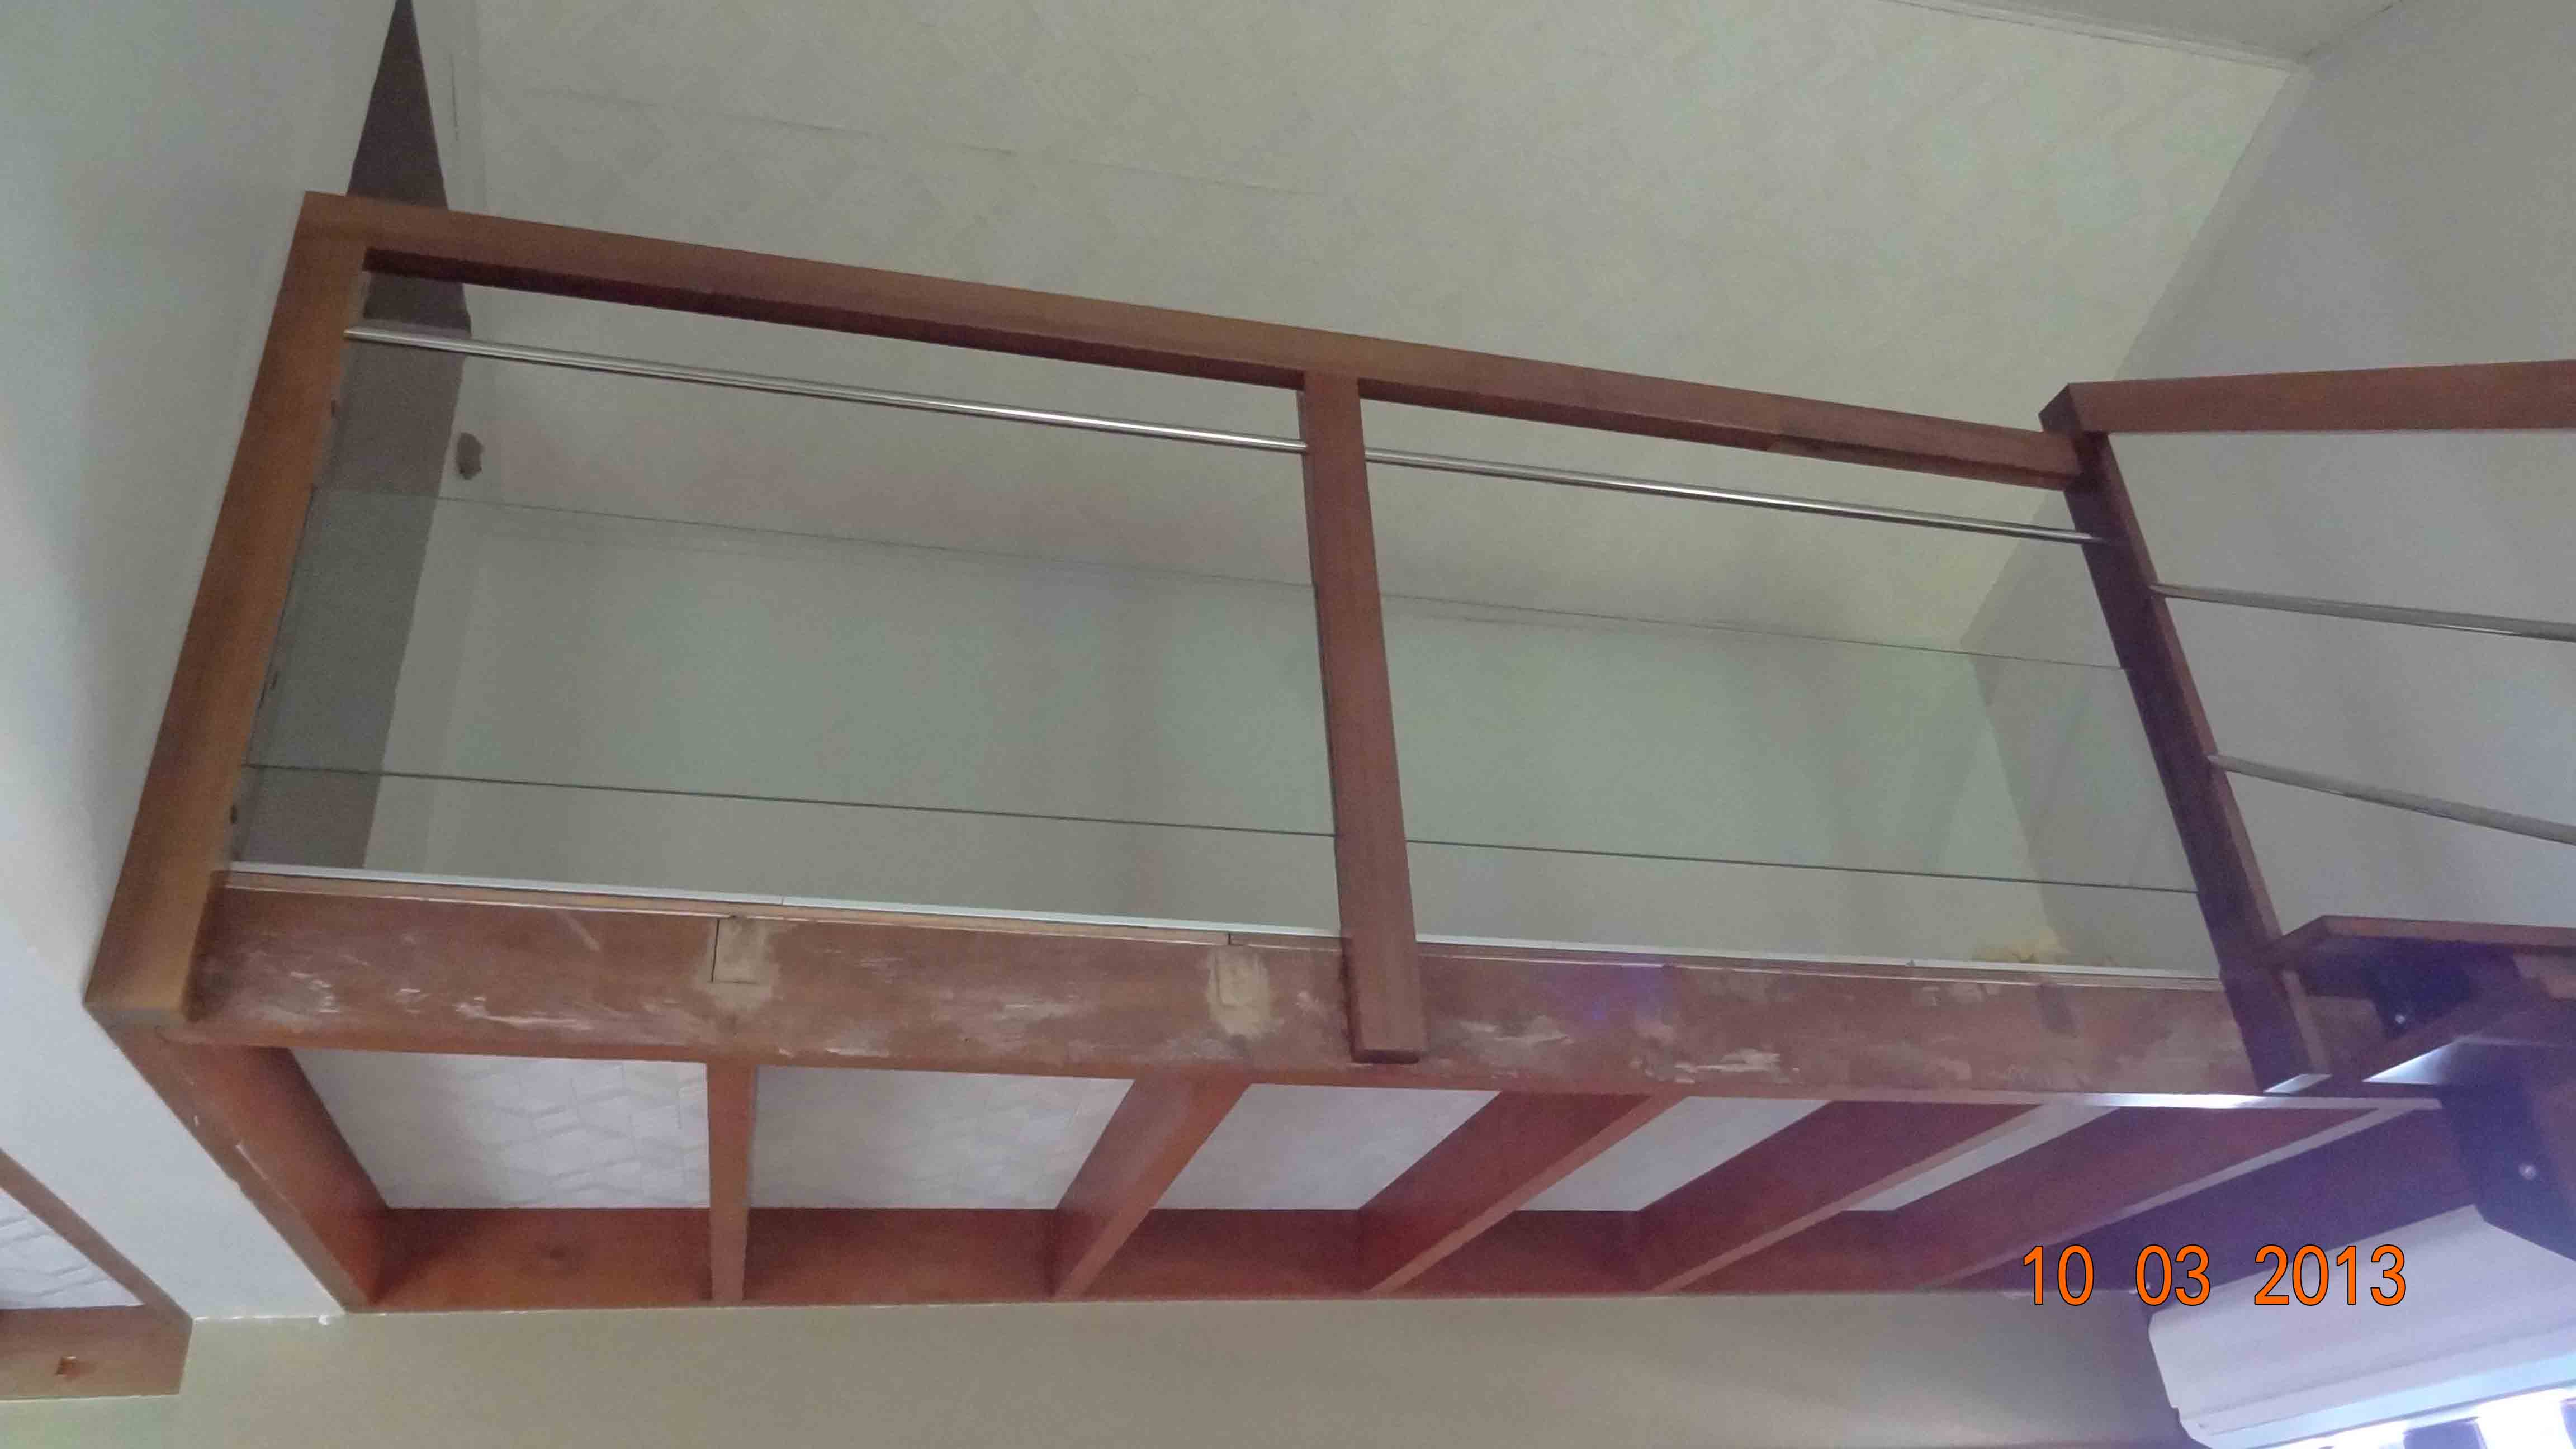
I’m still making the handrail and will be applying the outer veneers soon!
I’ll send the next episode soon as possible………
11 march 2013
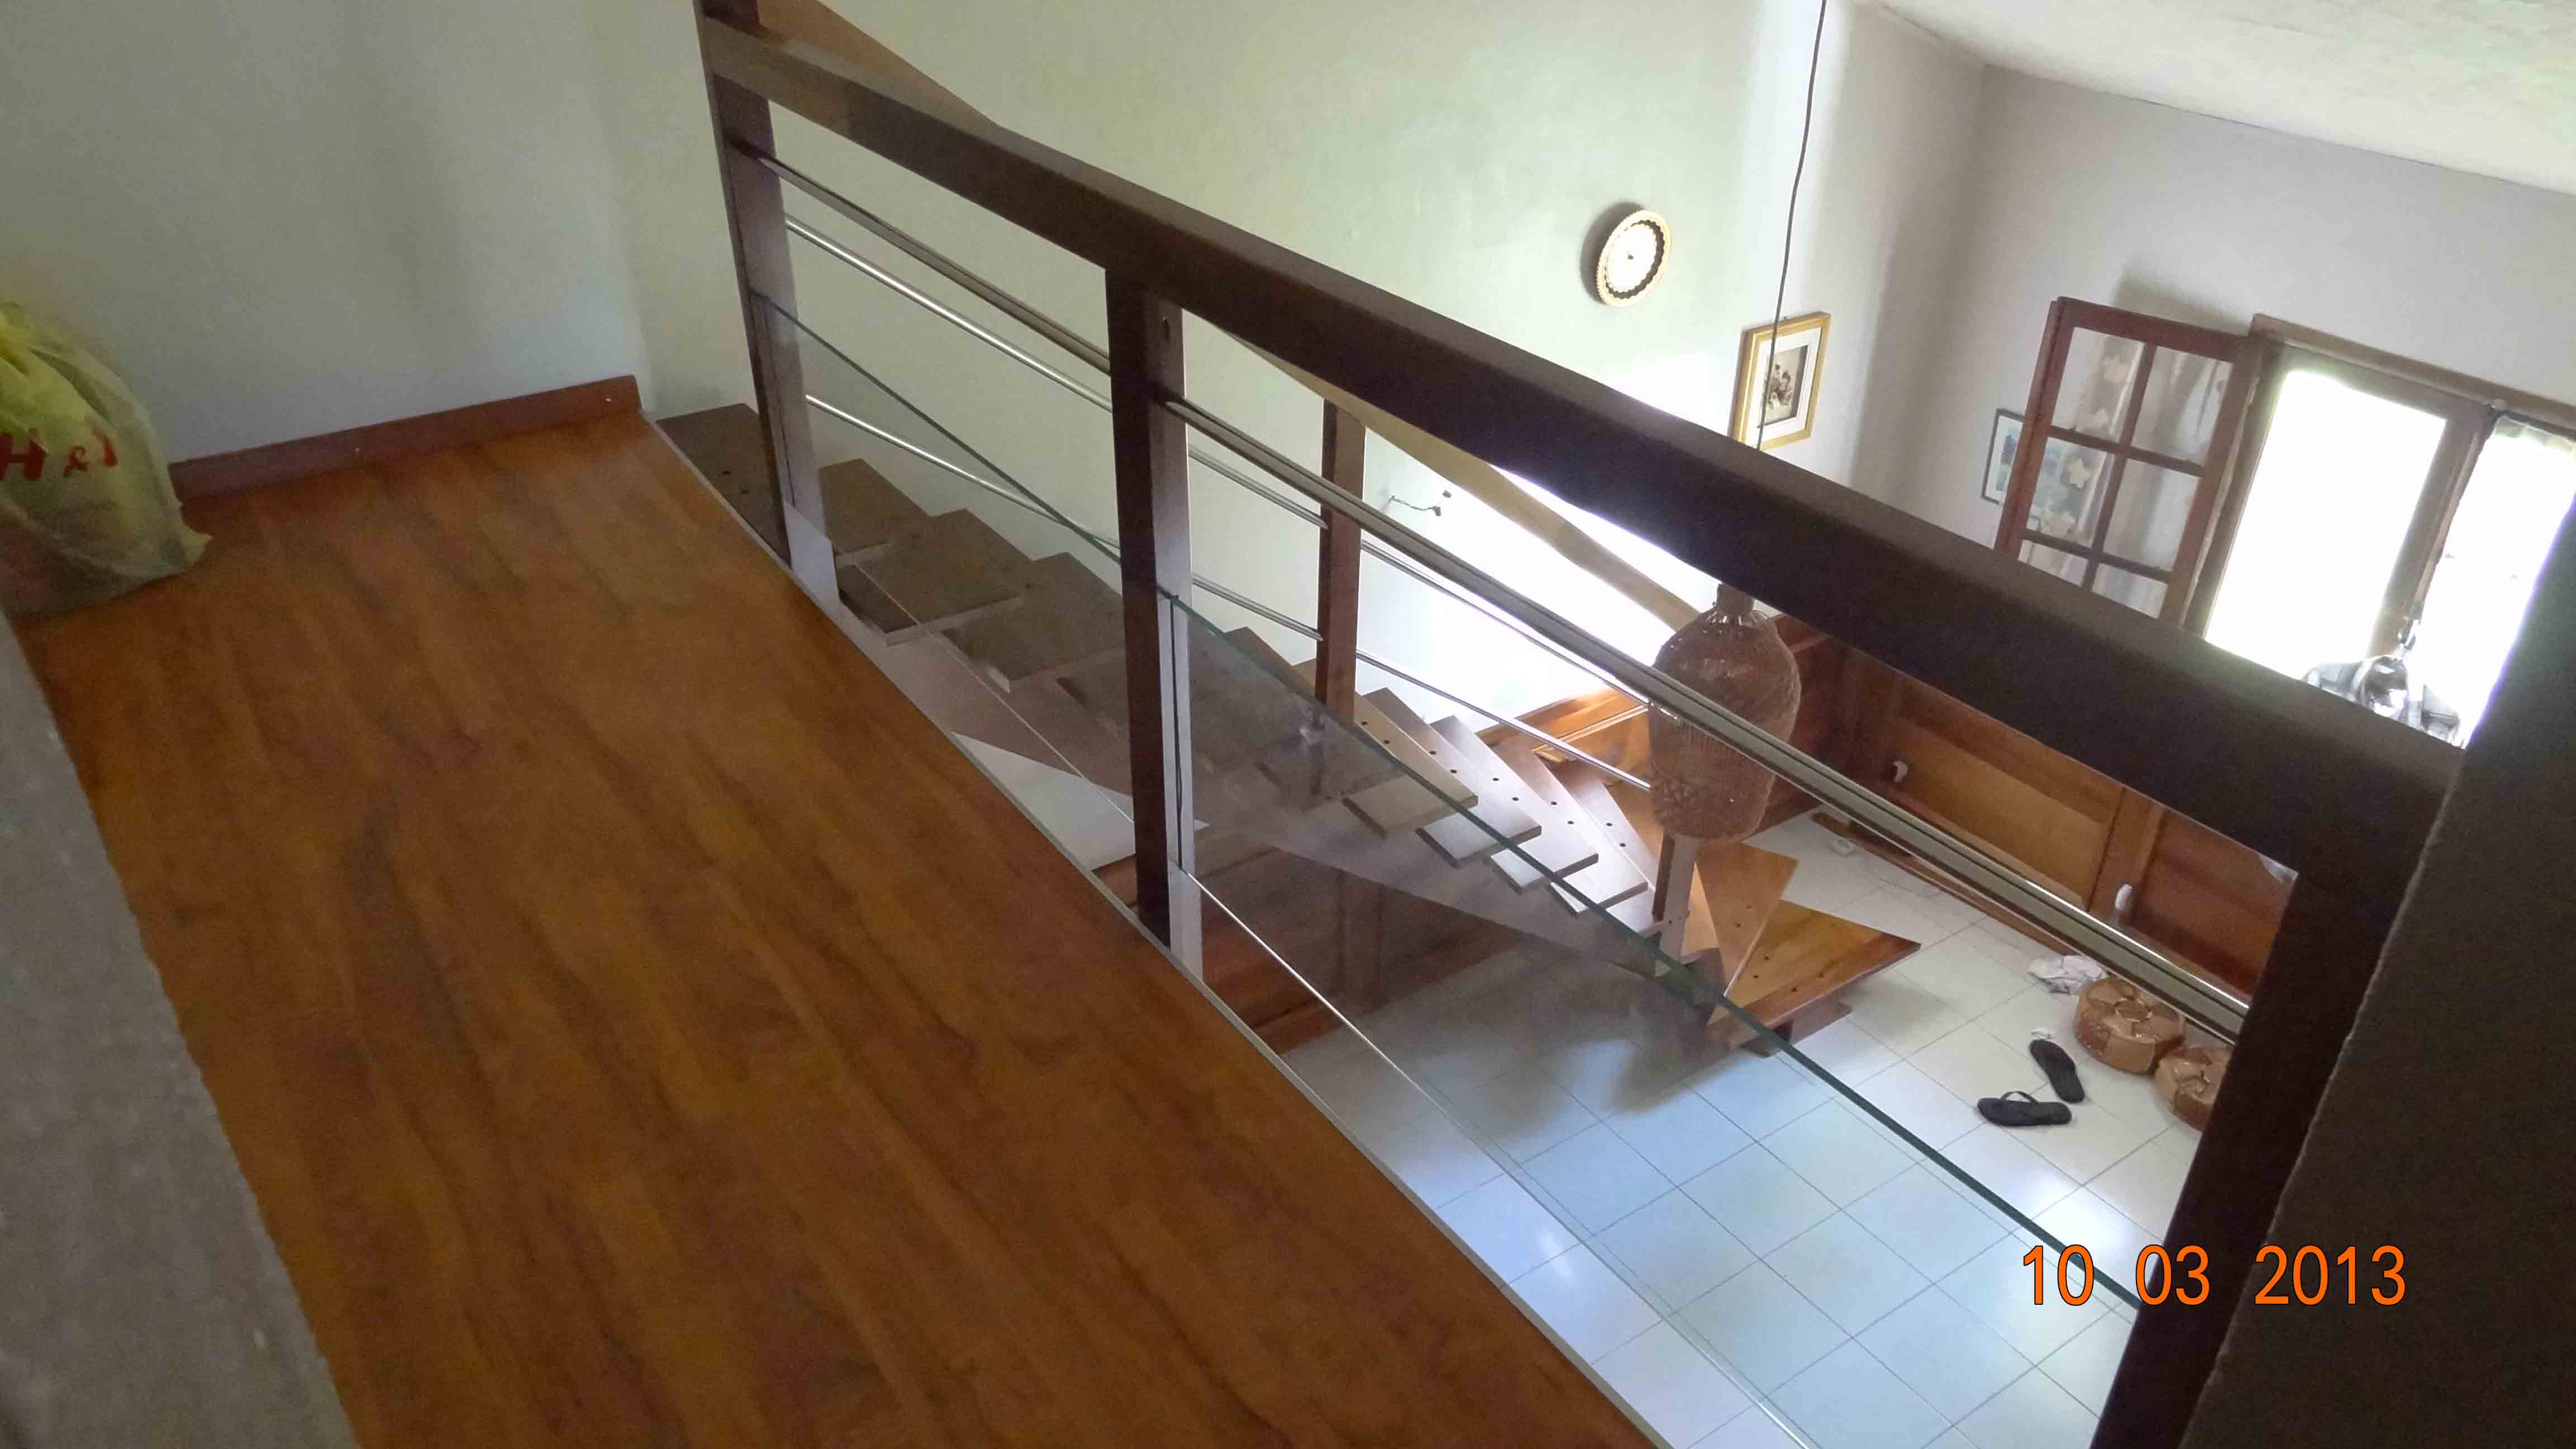
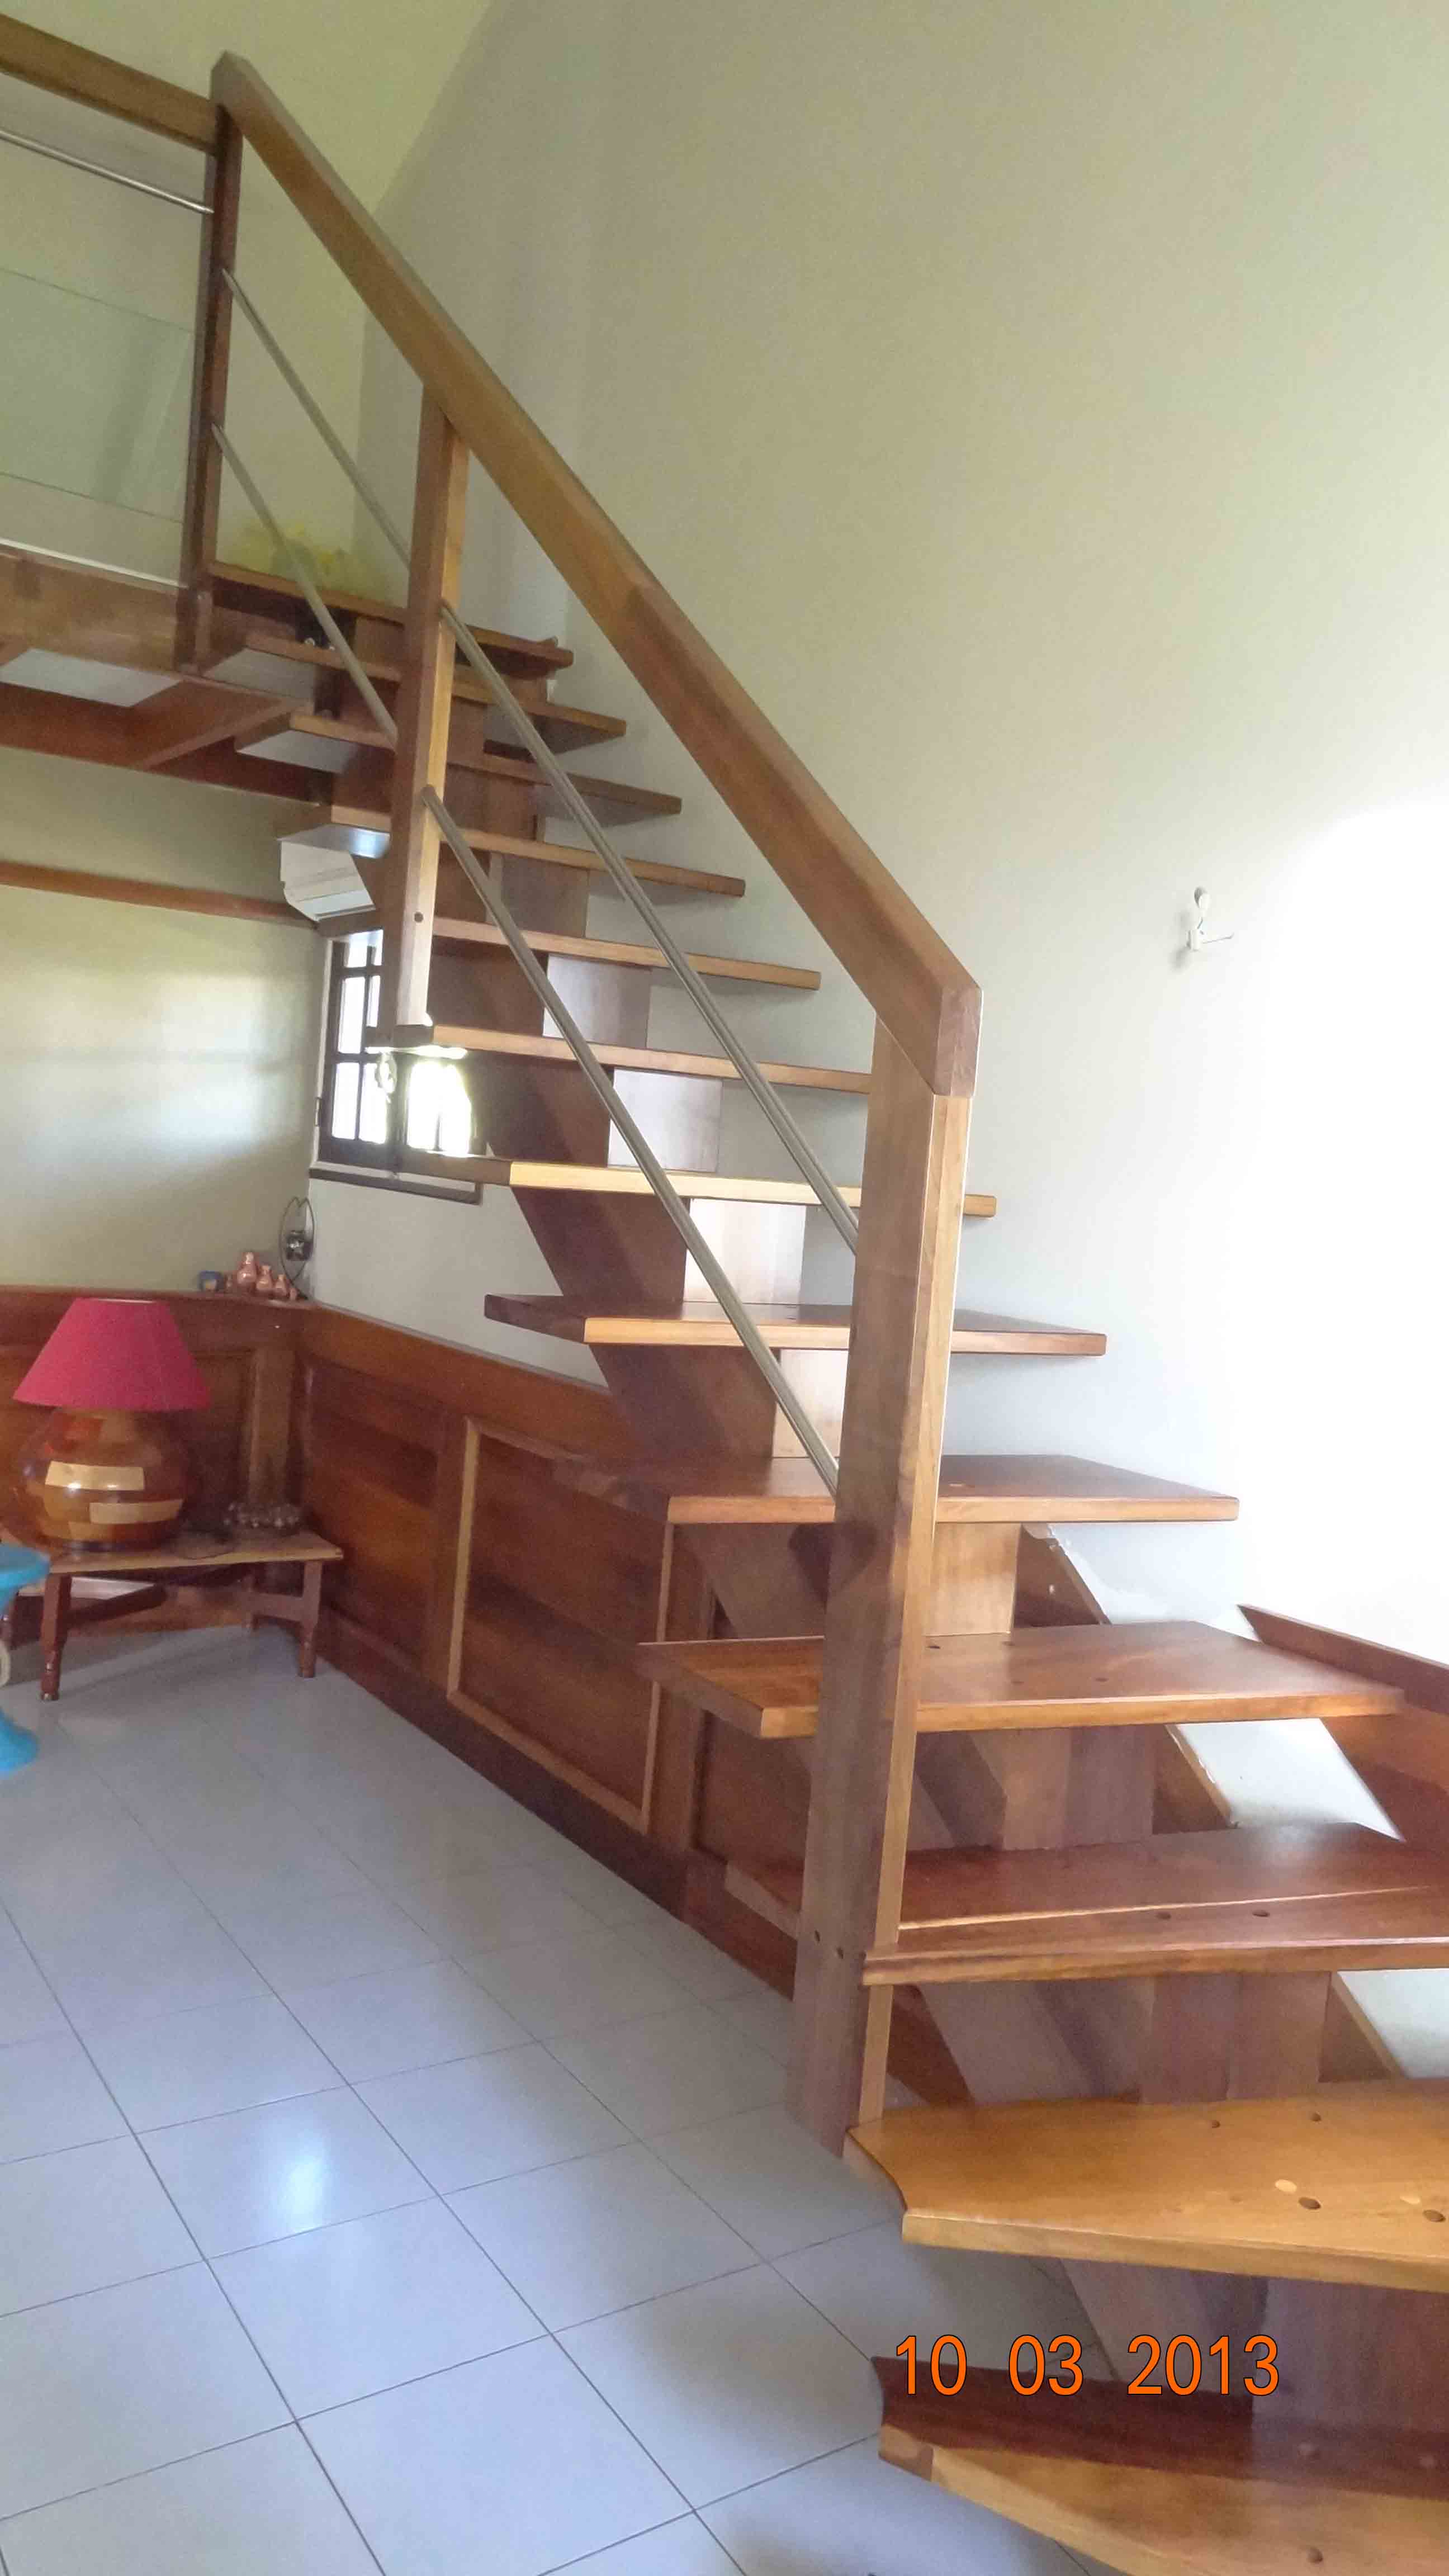
Finished stair, I just have to plug the screw holes……
Just to give you an idea of who I am:
I’m 35 and I’m neither a carpenter nor cabinet maker.
I’m just a DIY wood working enthausiast. I enjoy wood turning and carpentry as a pass time
I bought my first machine a few years ago and add to my tools as I go.
I use SketchUP and StairDesigner to draw my projects, both I consider fantastic pieces of software !
I’ve been wood working for 6 years now and it’s like a virus, I’m learning something new every day.
I would like to thank Ness for his help answering my questions and guiding me along the way.
His stair building techniques are realy great and have enabled me to build this stair using horizontal laminates, StairDesigner and SketchUp.
Thanks again !
Best regards
John
************
Click below for more information on:
Using Free Stair Design Software along with Premium Support – no need to buy the software
Compliments on the stair. It truly looks like it was done by a professional.
I am wondering, as a professional how you milled the bottom of the stringer?, it looks perfect. With such a wide timber the difficulty cutting cleanly thru a twisted curve such as that to create a uniform surface that is geometrically correct has always been the most technically difficult part of the projects I have worked on. Your hired!