Part of our ‘Staircase Basics’ Guide
Previous Page | Next Page | Contents
For real stair projects it’s good practice to do a little work before opening StairDesigner.
Here’s a check list of things that I suggest you do:
- Make a general sketch of your project with sizes and angles of the stairwell.
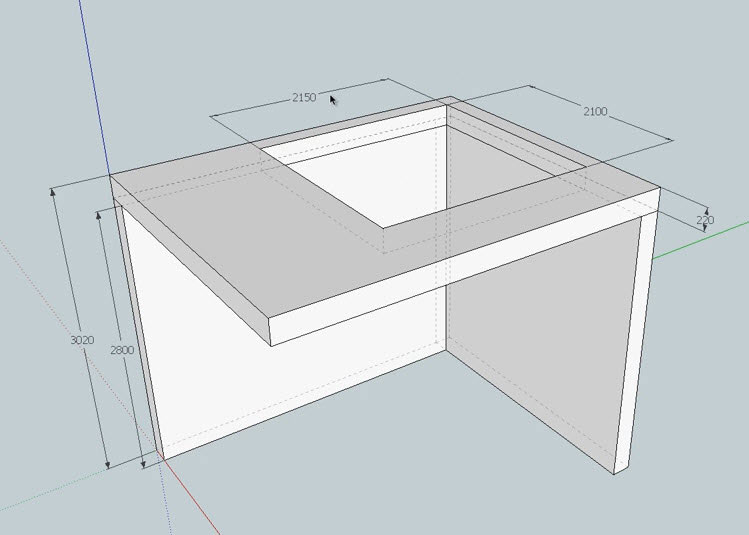
- Include the total height of the stairs (if the landing step is recessed to rest on and above the first floor height don’t forget to add this extra height to your stairs).
- Note the direction of the steps as they move up.
- A rough calculation of the step that gives minimum headroom clearance. This is the floor to ceiling height minus your minimum head clearance: say 1.90m divided by the approximate step height. This calculation can be very approximate and will be verified and adjusted by StairDesigner.
- Make a dimensioned sketch of the details around the landing step.
- This sketch should help set up the landing step and the assembly details around the last newel post.
- Make a sketch of the assembly details around newel posts. This is important to get the relative positions of the steps, risers and newel posts.
- Try to avoid ambiguous positions like nosing flush with the face of the newel post or riser recess half on the newel post half on the string. These sketches will help setting up the newel posts in StairDesigner.
- Make up a list of the wood thicknesses and sections that you hope to be using for each stair part, strings, wall strings, posts, steps, risers and balusters.
- Decide how you want to assemble the last step to the landing. If necessary you should take into account the transition with the horizontal rails of the landing or first floor.
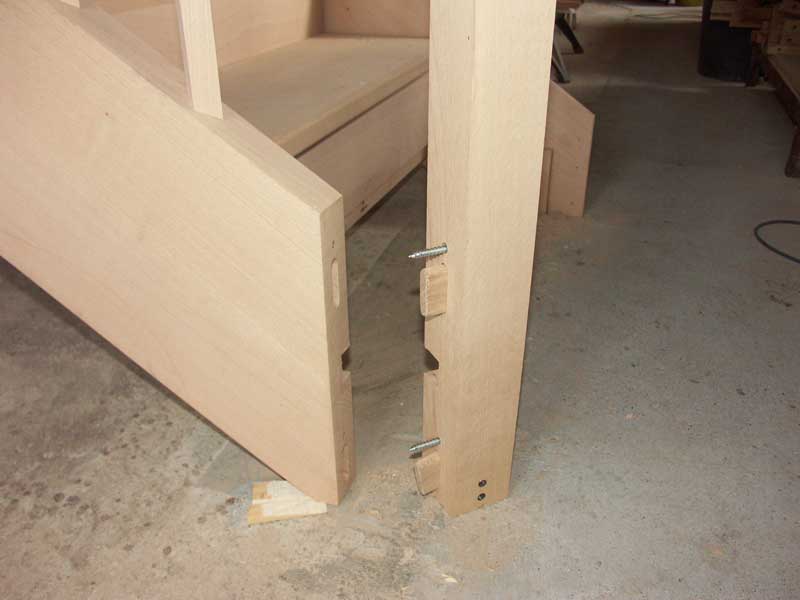
- Decide on the type of joints you want to use between strings and newel posts, and handrails and newel posts. Traditional carpenters use mortise and tenon joints but I find bolted joints easier and faster to implement and stronger in the long run.
- Decide on the joints you want to use between steps and risers, and how much overlap you want on each step.
- Decide on the depth of penetration of the steps and risers into the strings. This should be from 15 to 20mm and can depend on the thickness of the strings, but also on the capacity of the machinery used to rout out the string recesses.
A lot of this information can be put into StairDesigner as a template before building your stair.
Next up, I’ll discuss what basic skills and resources you’ll need to build your first stair.
If you have any comments, please ask on our forum. Thanks!