Wood Designer forum
Introduction of Christopher Pare|Page 4|Forum|WOOD DESIGNER
Hi Ness!
Thanks for the feedback… And that’s pretty much what I was planning on doing.
Although, I was taking it a step further by laying a strip of “undersized” masking tape centered over the centerline of the mini VD’s prior to applying the varnish and then lifting the tape prior to the varnish setting. This will then ensure that I have a bare surface the full length of the mini VD’s (including the biscuit joints) on which I am able to glue.
Maybe I am going over-board, but I would really hate to have to fix this “damn thing” in the future. LOL
Sincerely,
Christopher
October 4, 2012


Hi Christopher,
Before varnishing, I would slide a biscuit into the slots so that the varnish doesn’t go into them.
Then for gluing up just put a little glue into the slots.
You don’t need very strong joints on the wine rack there’s no load at all and the VD will not move nor bend.
The mini VDs can be mainly held in place just with the biscuits, a spot of glue would just be to stop them sliding forwards in the unlikely event that the biscuits are or become loose.
All the best,
Ness
Hi Ness,
Please explain further… Are you suggesting that I only glue the Fixed Shelves (FS) 1 through 4 to the Vertical Divisions (1 & 2)? If yes, then how do you suggest I attach the Vertical Divisions (VD) 3 through 18 between those FS’?
I’ve already completed the tasks of cutting the biscuit joint slots on both the FS’ and the VD’s, and I’ve sanded them down in preparation of staining/applying Varathane, so this is the best time to make your idea known.
I was going with gluing all pieces together simply due to the fact that the VD’s do tend to bend and this would keep them straight.
Thank you for your advice!
Christopher
October 4, 2012


Hi Christopher,
You bar is looking good.
For the wine rack you only need glue to main uprights. I wouldn’t glue all the parts.
All the best,
Ness
Hi all!
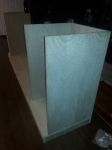
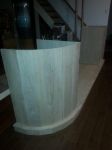
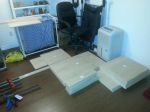
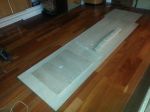
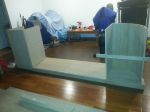
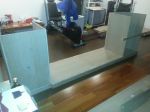
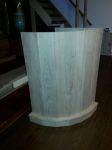
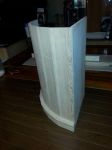
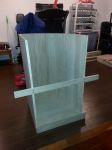
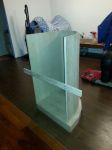
Here’s an update with photos… It is going slowly, but I do have a full-time job too (and only so much room to work with)! LOL
The main thing is that I am getting it done!
Now onto working on the wine-rack… My belief is that that is going to take quite a bit of time. After all, I am going to be building 20 little boxes (and they will need to be perfectly aligned)!
I am also thinking that I will have to start the varathaning process too because I will not be able to get inside the 4″ x 4″ boxes that are 21″ deep. My thoughts are that I will use masking tape to keep bare wood for gluing purposes during the assembly process.
That said, it may take a while, but more updates will be coming… Stay tuned
Christopher
October 4, 2012


Hi Christopher,
Looking great, well done.
All the best,
Ness
October 4, 2012


Hi Christopher,
Happy to be of help.
I forgot to answer about the scotch tape….I’ve never done this but wouldn’t think you will have any problem. The worst case being you’ll have to use some solvent to clean the panel.
Hope the building goes well !
Send us a few photos if you have time, love to see the project growing….
Have a great week end
Ness
October 4, 2012


Hi Christopher,
Sorry to get back so late but I’ve been away for the last couple of days.
Sounds as if the job is moving forwards well.
The edging position is marked as left,right, top and bottom in the cutting lists.
This refers to the position as the part is drawn in the workshop doc, so is in general fairly explicit.
All the best,
Ness
1 Guest(s)


