It’s great to hear about the projects our customers are working on.
In this case, Wood Designer was happy to assist Philippe Bonneau with his stair project that included horizontal laminates for the stringboards.
This technique allows you to create complex geometric constructions without having to make specific moulds or installations which is itself an inherently complicated and intensive process.
Horizontal laminates allow precise shapes to be created by stacking and gluing together pre-made block parts. The final shape can then be laminated and finished.
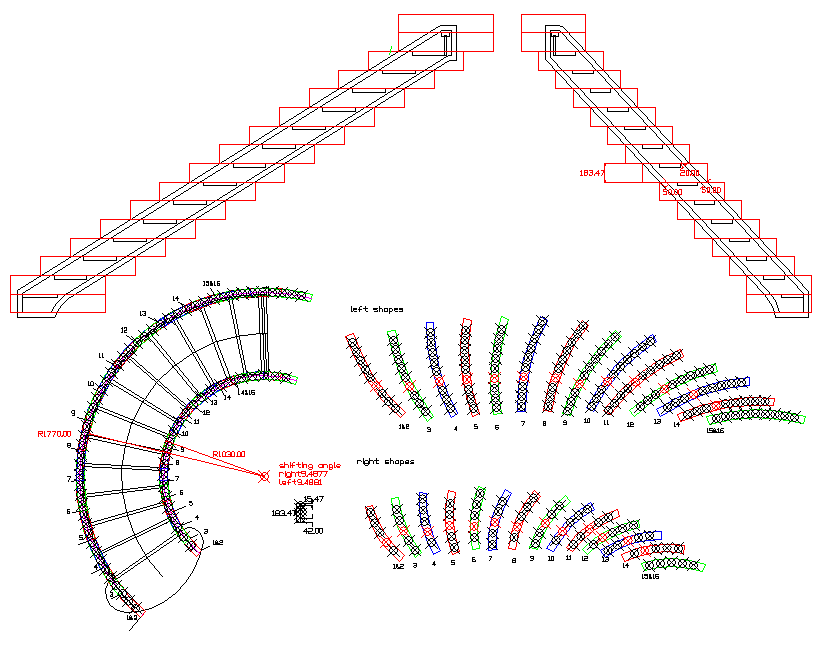
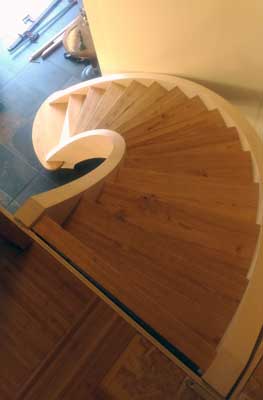
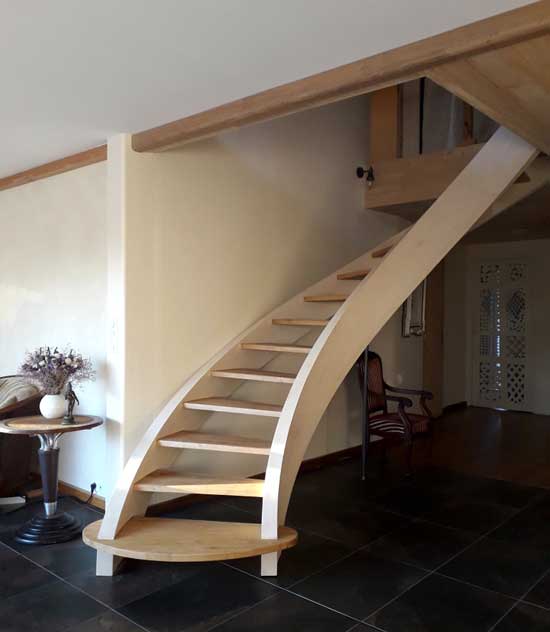
Philippe decided to use one of our support packs which allowed us to create his design with StairDesigner and provide all the required technical files to enable him to manufacture every stage of his stair (helicoidal with a 145° rotation angle, no risers).
The horizontal laminates required a series of CAD files which was also included in the service:
Below you can read the details of Philippe’s journey in his own words as he built his stair…
Lover of woodworking since childhood, carpenter and cabinet maker, in 2011 I decided to make my own wooden frame house and to include a wooden staircase in the design.
I was planning a quarter turn stair with two straight flights but back in 2013 I discovered Ness’s videos (one of the team here at Wood Designer) where he explains the technique of gluing horizontal laminates and I was excited to think this was within my reach and skills.
I spoke to Ness and we agreed it was achievable. Fast forward to 2020 and the house is finished (after 6 years of construction). I got back in touch with Wood Designer and decided to buy the StairPlan service.
After a screen share session with Michel we finalised the design.
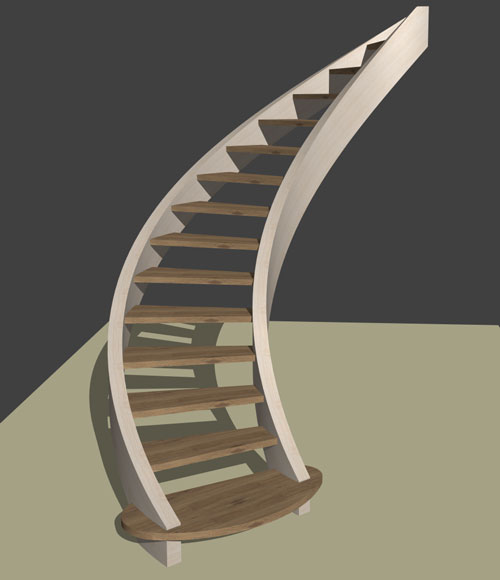
Overall width 90cm, height 272 cm
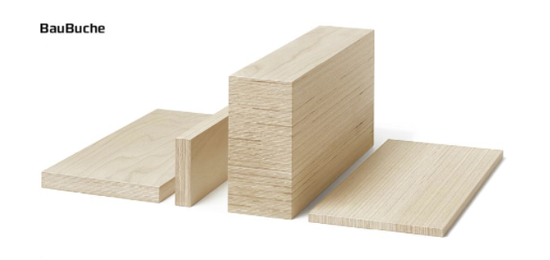
The stringers (80mm thick, 300mm wide) were made in horizontal glued layers 45mm thick cut from beech plywood vertical from BauBuche, the veneer exterior was 2mm ash.
The chestnut steps were given to me by a friend.
My workshop is not very big, 25m2, I don’t have a spindle moulder, only a manual router.
I had the horizontal laminates machined by a professional workshop equipped with a CNC router. I provide the panels and computer files.
I received the laminates not fully cut out of the panels, I did that with a bandsaw and table router.
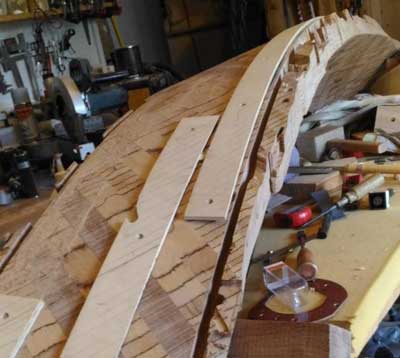
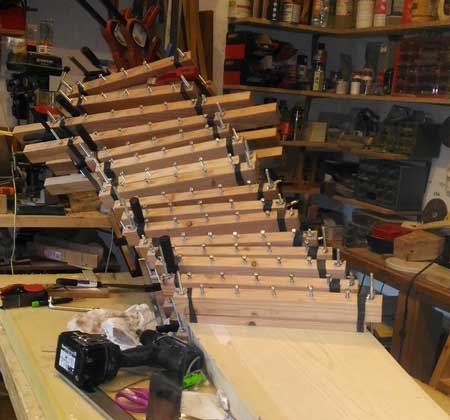
The stringer consisted of stacks of 15 blocks, each set of these was the height of a step.
Each block was made of 4 layers.
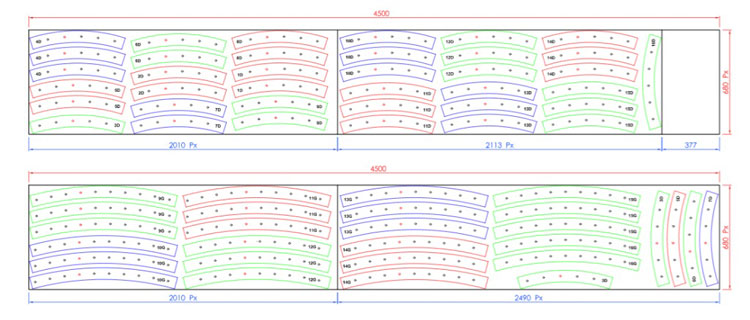
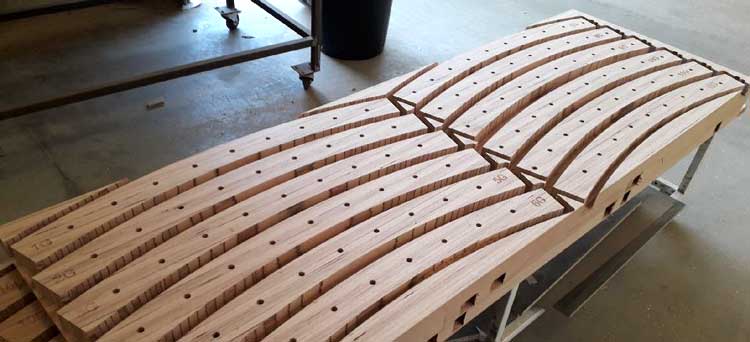
Then the blocks were glued and dowelled by offsetting them. I removed excess material as I went to reduce the weight.
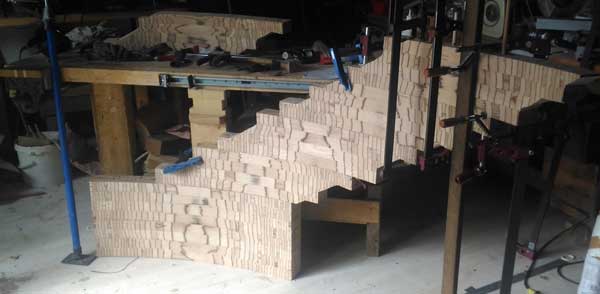
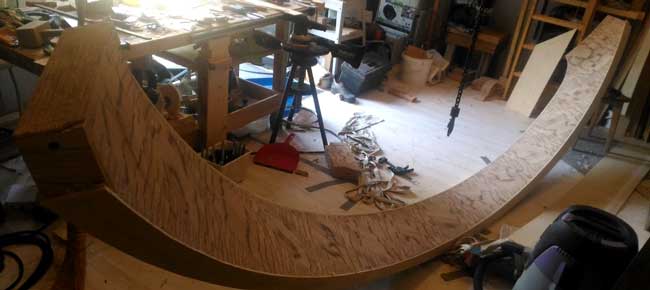
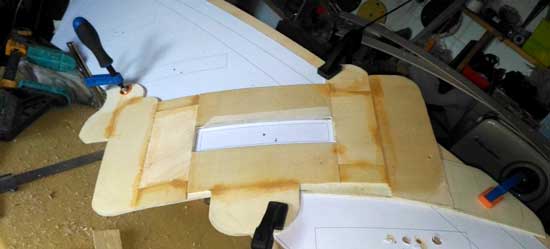
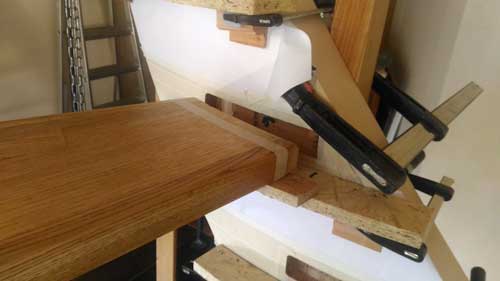
For the final cut of the upper and lower edges, I used a router with a copy ring. I made concave and convex router soles with an adequate radius, and fixed support guides to keep the router parallel to the oblique lines on the guides so that the cut was perpendicular.
I added a 5.5cm deep groove on the concave side, then on the other side with a copying cutter.
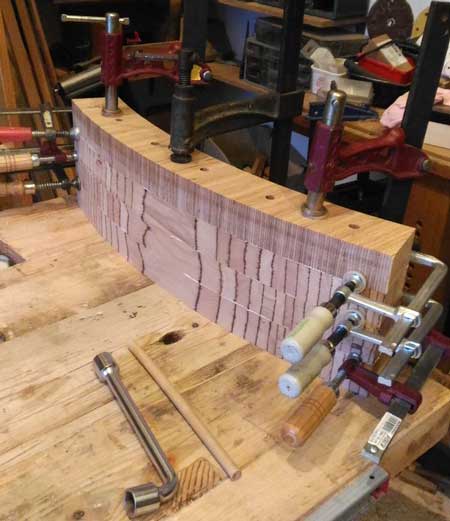
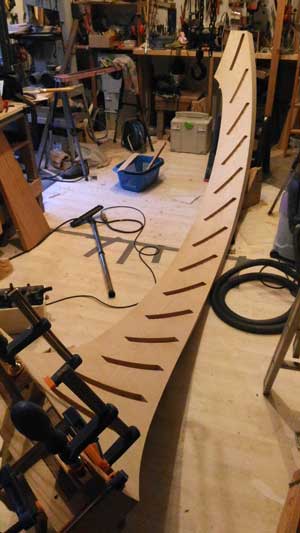
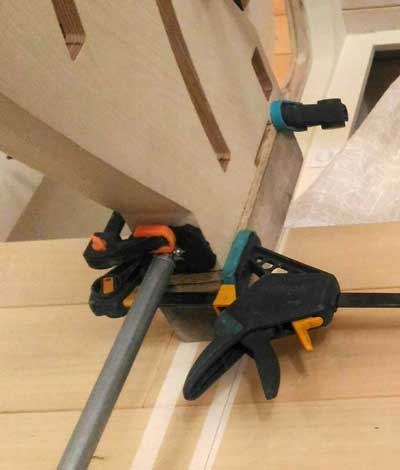
For the veneer, I started with the edges of the stringers and I used 5mm Bendywood ash purchased in sheets of 100mm x 1100mm. I outlined them in 2 x 40mm and I stuck them directly by bending them cold, without steaming, with an assembly of stop brackets.
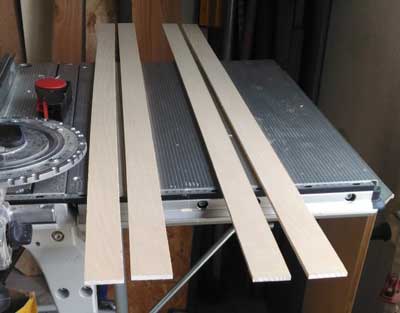

This allowed the grain of the wood to follow the spiral curve rather than having the grain straight on multiple sections.
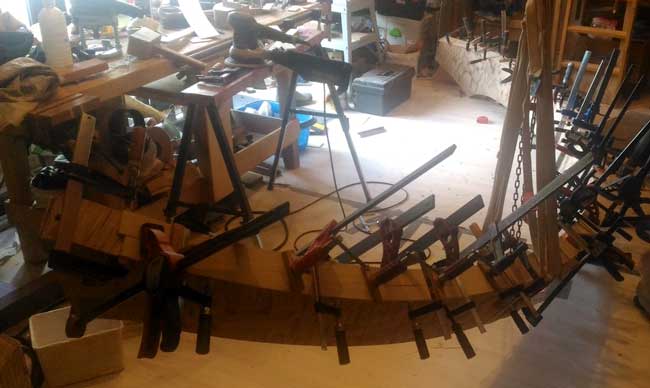
The side plating was not a problem, with veneer presses based on Ness’s model positioned every 8cm. I glued with the standard D2 wood glue, 70cm lengths at a time.
Then came the routing of the mortises on the strings.
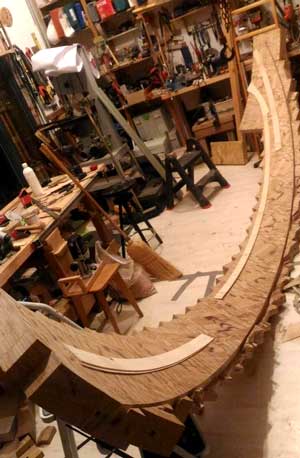
Then it was on to the assembly but without gluing to see if everything was as it should be and to adjust if necessary.
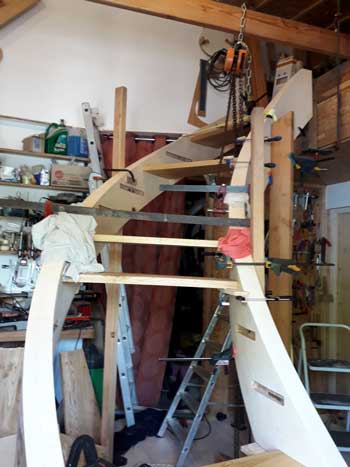
The final gluing was done in the living room, as the assembled staircase could not pass through the doors and weighed 270 kg.
It was necessary to displace the upper support of the large stringer by 8cm, and leave the small stringer floating in position, in order to be able to offset it concentrically otherwise it would have been impossible to insert the steps.
The 2 stringers were raised by 15cm, the large one was fixed, the small one was on a trolley.
The steps were inserted into the large stringer and placed on support plates at the level of the mortises of the small stringer, then tightened.
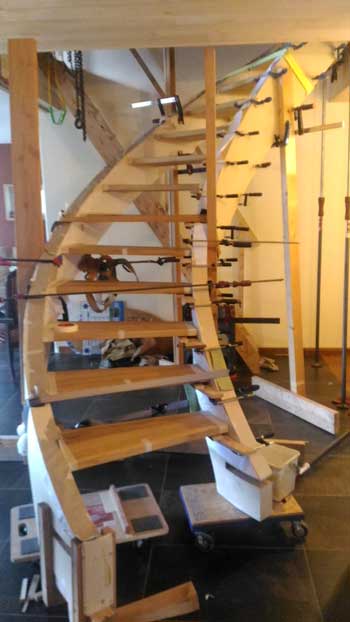
As wood glues have a maximum open time of 30 minutes, and the positioning and clamping tests without glue were taking 25 minutes, wel used a custom-made epoxy glue with a 6 hour delay before polymerization.
Tightening was achieved by 3 large ratchet straps and 3 clamps.
It was left to stand for 4 days, then moved into the final position, anchored in the ground and in the beam of the hopper.
Rubio monocoat 2C finish on the stringers and Genius oil Blanchon on the steps.
I’m happy with the result, it’s the assembly-tightening-gluing that was a bit of a challenge.
I would like to thank Ness and Michel for providing me with the precise plans, and for their advice, this brought the project within the reach of an informed amateur.
Planning your own stair project?
A big thank you from all of us at Wood Designer to Philippe for taking the time to send through this detailed explanation of his project build, including all the great photos.
If you would like to use this stair design service, where we create your stair using StairDesigner, our 3D stair calculator software, it can be accessed by ordering one of our Support Packs.
And please feel free to leave a comment about your thoughts on this project or one you’re working on yourself.
Thanks for reading!