Handles, specialist fittings and other 3D accessories
This guide covers how to create and add 3D images of hardware and other accessories to enhance the 3D view of your projects. It also covers how to link the 3D model of your hardware with its machining details.
Please also view this section of the Help Centre for an introduction to this topic:
Essentials: Quick Design libraries
The video below details:
- Creating a 3D model of a handle inside PolyBoard
- Creating the machining details for this handle
- Combining the machining details with the 3D model and adding it to a cabinet
- Viewing the manufacturing output
Hardware (or fittings) in PolyBoard can have two components:
The machining details
For example, the pilot holes for the screws for a door handle or drawer slider, or the holes that need to be drilled to slot in a hinge.
The 3D representation
A 3D model of the handle or hinge for example.
A key aim of the software is to output accurate manufacturing files, so when we set up hardware really we’re focusing on the machining details for that hardware.
Those details are then included in the plans and the CNC files to run your machine.
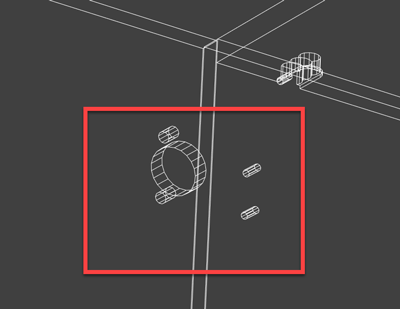
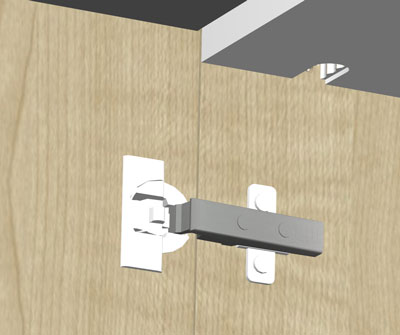
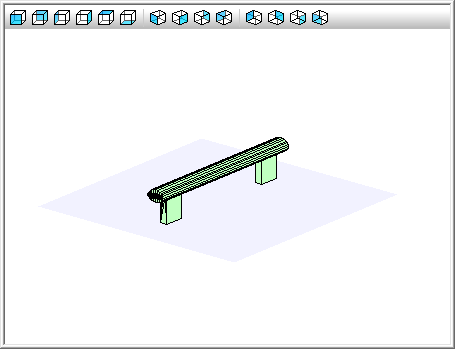
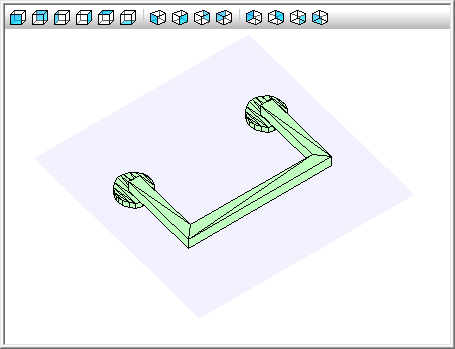
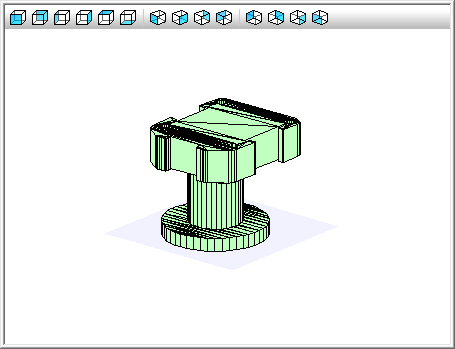
Optionally, you can add a 3D representation of the hardware as well and link it to your hardware machining details. Then, when you add the hardware, you’ll also see the 3D model of it in the 3D view in PolyBoard as shown below:
This is particularly useful for handles, knobs and other façade hardware, they definitely add value to a customer presentation.
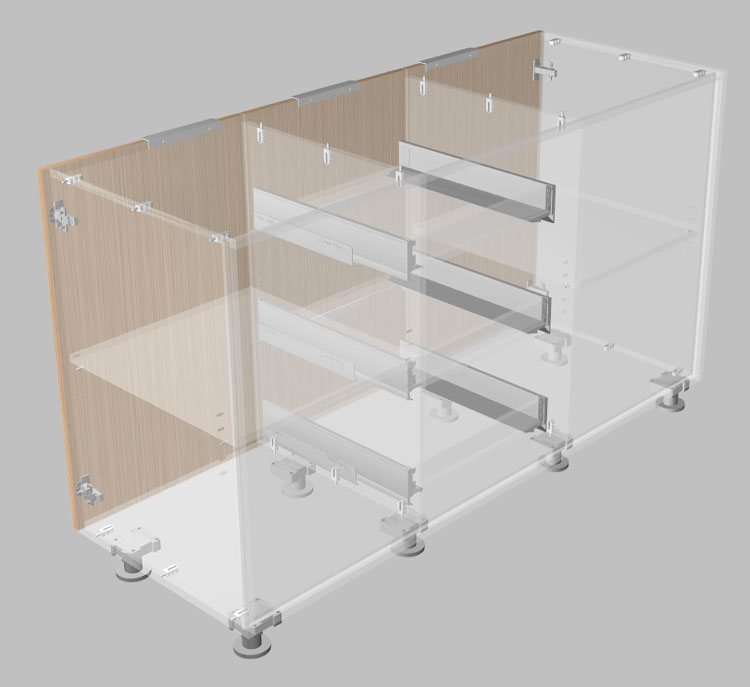
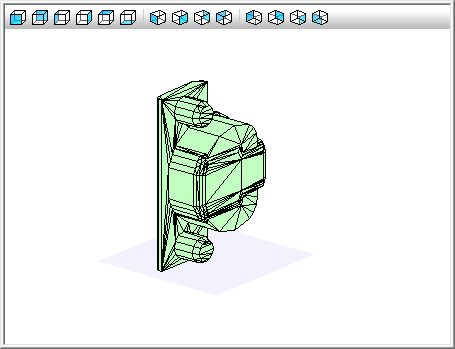
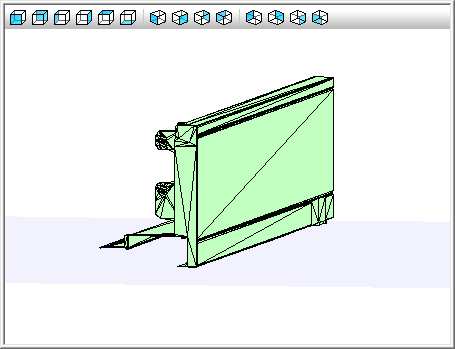
You can also add a 3D model of a hinge or drawer slider, but this adds less to the 3D view (we’ve made the above cabinet transparent so you can actually see these!) so we generally recommend excluding 3D imaging of internal hardware. If your project includes a lot of complex 3D hardware, it can slow down the processing speed of the software too.
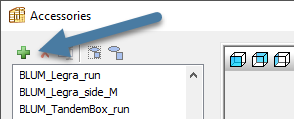
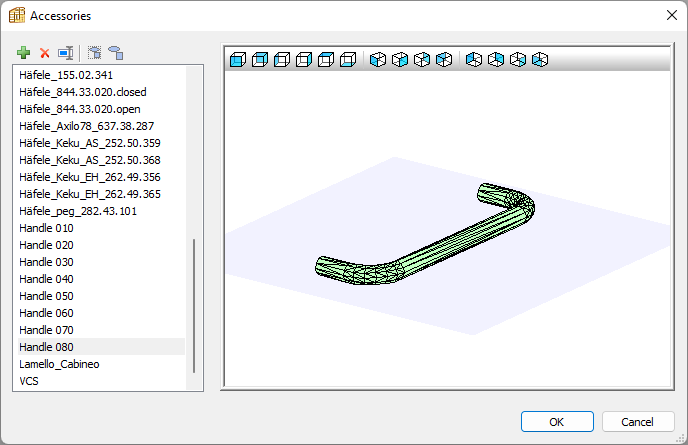
3D accessories library
The 3D image you link to your hardware machining details is stocked in the 3D accessories library, which is found in the Libraries menu. We’ve included ready for use a range of:
- Handles, knobs and drawer pulls
- Hinges and panel assembly hardware
- Drawer sides and drawer sliders
- Shelf pegs, cabinet feet and lots more
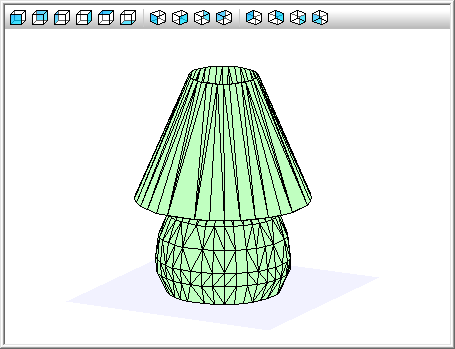
This library also stocks other 3D models for use in your 3D project view, like coat hangers, sinks, lamps and books.

Fittings libraries
The machining details for each hardware type are available in one of these two places:
- Fittings library
- Single panel fittings library
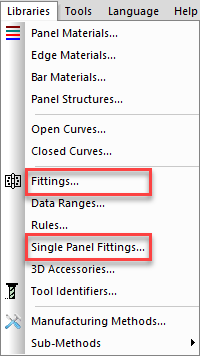
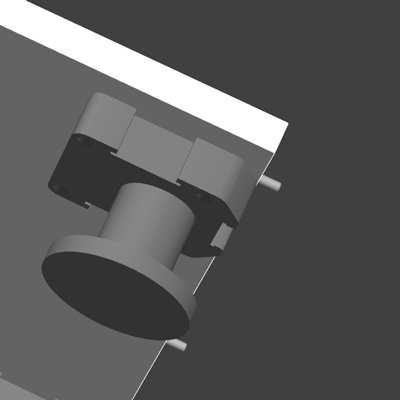
The Fittings library stocks hinges, drawer hardware and panel connectors, basically any hardware that links across two parts of your cabinet.
The Single panel fittings library, highlighted in the video above, stocks handles and cabinet feet for example, so hardware that can be postioned at any point on a panel’s face.
We’ve included in our video above use of the Single panel fittings library. Use of the Fittings library is covered in detail elsewhere.
How to create and import 3D accessories
3D accessories can be generated in 3 different ways.
In all cases, to be correctly recognised by PolyBoard you need to create a 3D DXF file with 3D faces (or triangular mesh).
1. Create in PolyBoard
The video above provides an example of how this is done. A summary follows.
Start with a basic cabinet
- Set the dimensions and panel materials as desired
- The thickness of the panel is taken from the material’s parameters
- Once complete export your model as a 3D DXF
- Go to File menu > DXF 3D export
Import to 3D accessories library
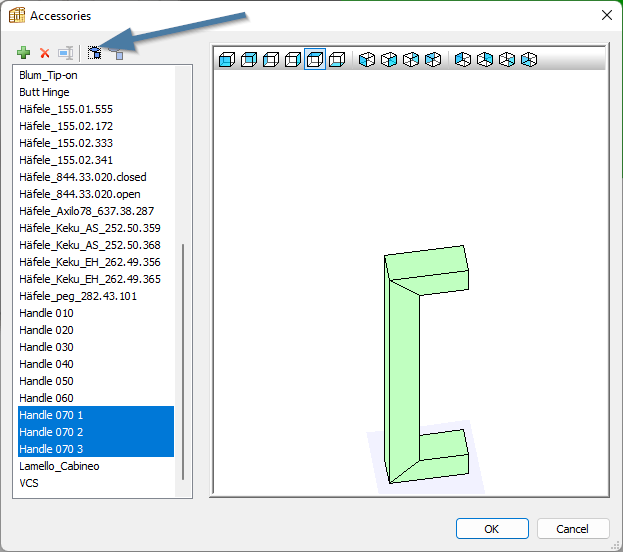
- Go to Libraries menu > 3D accessories
- Select the green + icon, and open your previously exported DXF file
- Select all 3D faces (select one, then select Ctrl + A)

- This may create multiple elements so group them as one 3D accessory before using
Using PolyBoard’s tooling features
- Simple to complex models can also be quickly created inside PolyBoard using the tooling commands in the Structures menu
2. Create in a CAD package
SketchUp
In SketchUp Pro 2017 onwards, use the plugin ‘Convert SketchUp SKP files to DXF or STL’.
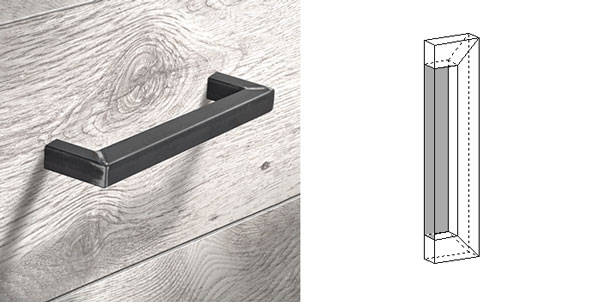
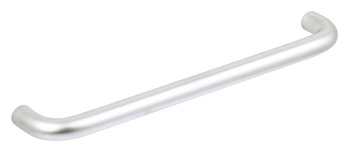
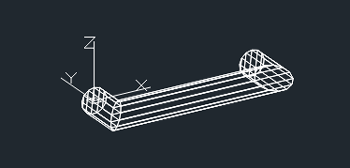
In this example we’re using this Häfele handle:
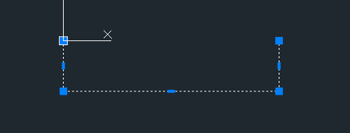
- Draw the shape of your handle (preferably using multiple segments instead of curves)
- Draw a 12 segment polygon (in dimension type 12s – for 12 segments – and the diameter)

- Use Tools > Follow me
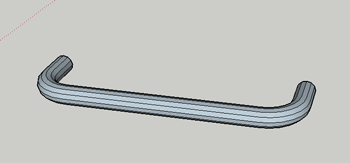
- Use Tools > Export to DXF or STL, remember to select ‘triangular mesh’
- The DXF file can now be imported to the 3D accessories library
Other CAD Software
Any CAD software can be used to model a 3D object, for example AutoCAD, DraftSight, nanoCAD and progeCAD.
This example uses progeCAD.
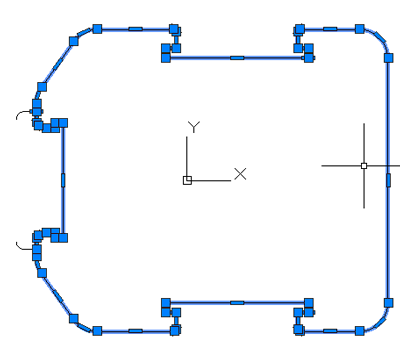
- Draw the shape of your handle in polylines
- Draw a 13 segment polygon then perform a 3D rotation (ROTATE3D)

- Use the SWEEP command to extrude the shape then convert to mesh (-CONVTOMESH)
- Decompose to obtain a full 3D face object so that it can be imported to PolyBoard
CAD and PolyBoard combined
We looked earlier at creating a 3D accessory in PolyBoard. You can use CAD software to help with this, creating some of the more complex elements in CAD then completing in PolyBoard by adding inner toolings for example.
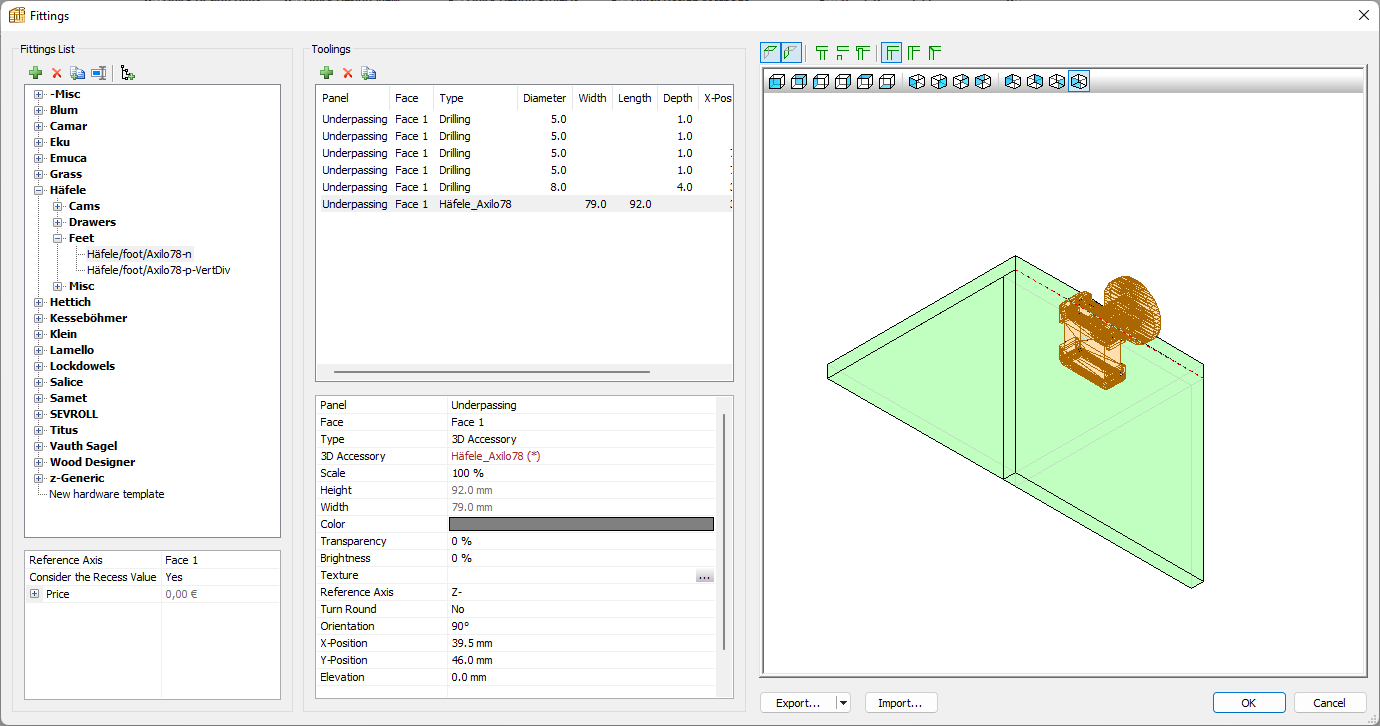
This example is the Häfele AXILO 78 plinth foot for a kitchen cabinet:
- Draw a closed polyline in your CAD package, most software has an outline command called “Contour” which you can use
- Save this as a 2D DXF file and import to PolyBoard’s Closed curves library (Libraries menu > Closed curves)
- Then Design your accessory with panels in PolyBoard using the shape as a tooling
- As before, export the result as a 3D DXF file and import to the 3D accessories library
- Once available, it can be added to a hardware stocked in the Fittings library or Single panel fittings library
3. Import from a manufacturer’s website
A simple method is to download the 3D DXF file you need from a manufacturer ready made.
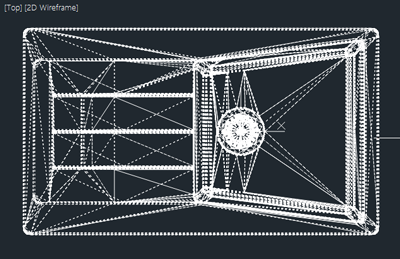
In this example we’ve downloaded a sink model from the Häfele website.
- The DXF output format is set to polyface with 3 segments
- After downloading the files, explode or decompose the model in any CAD software to obtain the 3D face format we need
- Then, as usual, import to the 3D accessories library in PolyBoard
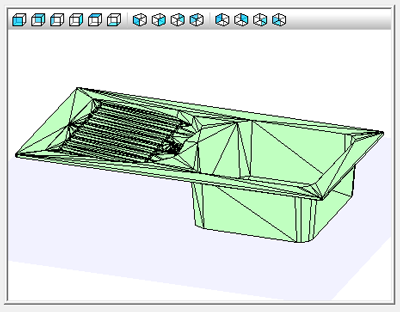
This is a nice example of the range of 3D accessories that PolyBoard can accommodate, as well as typical hardware components.
For more details on how to import for a manufacturer’s website, please read this article: