- Home
- Help Centre
- PolyBoard tutorials
- Output (non CNC)
- Cutting list export
Cutting list export
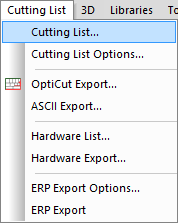
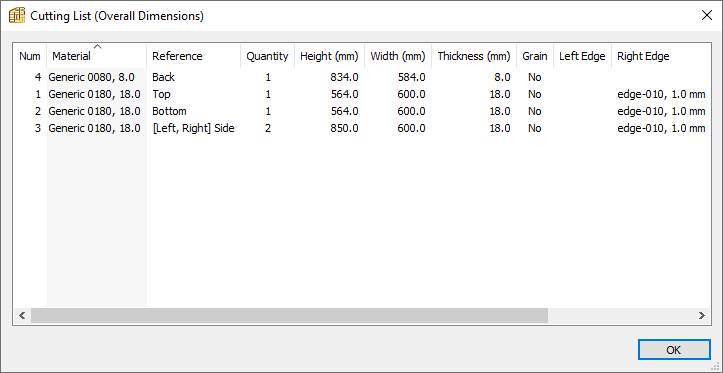
To view the cutting list on screen, go to Cutting list menu > Cutting list:
ASCII export
In addition to outputting the cutting list in PDF format, it can be exported as a:
- .csv file
- .txt file
To perform this export go to Cutting list menu > ASCII export:
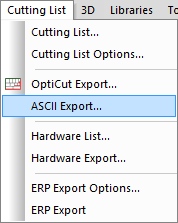
You can choose to save the file either as a .csv or .txt file.
This export can be configured in Cutting list menu > Cutting list options:
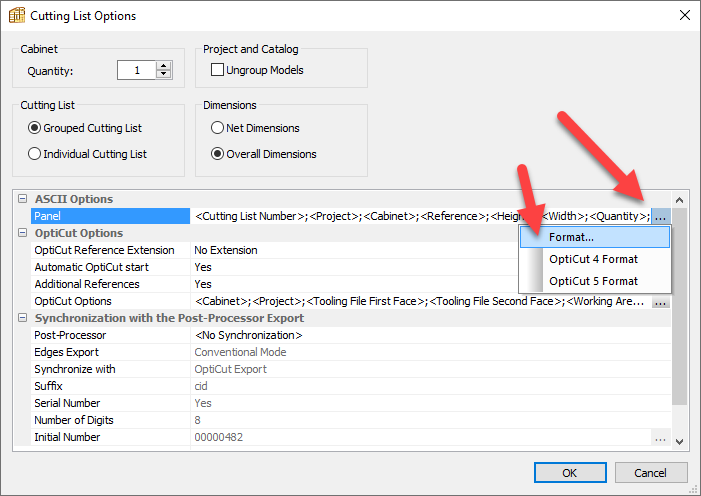
To add, remove and change the order of the data fields, click on the 3 button icon > Format:
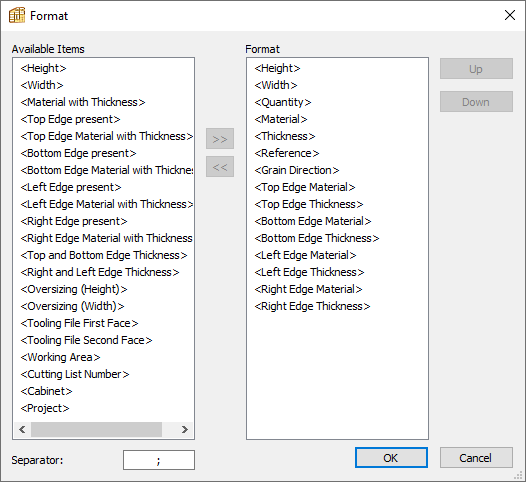
Here you can:
- Drag a data field from Available items to the Format window for inclusion in the export, or vice versa (or use the arrow buttons)
- Drag a data field up and down the Format window to reorder (or use the Up/Down buttons).
- Edit the separator, here ; is selected
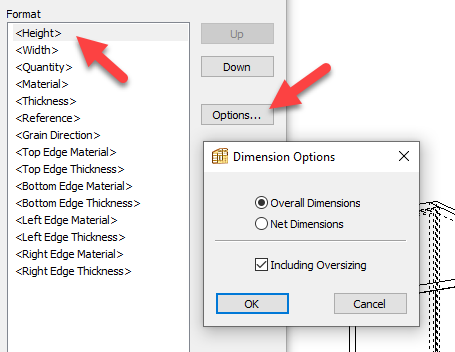
- Some data fields include additional preference, select the field > Options button to make further changes, see the image below:
More cutting list options explained
- Ungroup models = shows each unique model separately on the cutting list and CNC output, even if it is identical to others
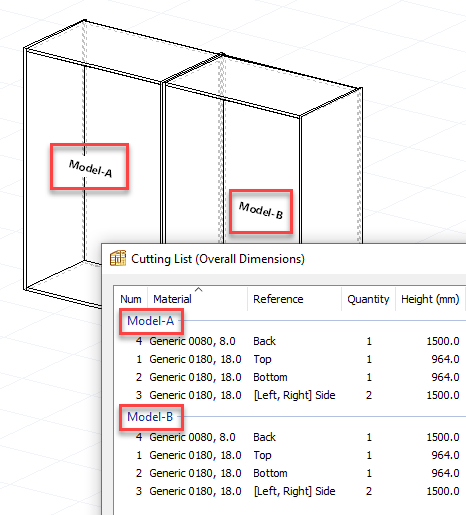
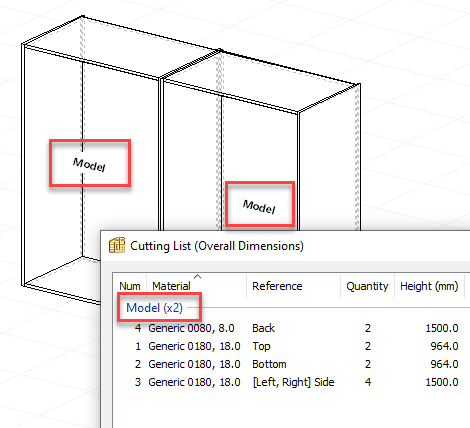
- Grouped vs individual cutting list = grouped shows identical cabinet elements on a single line (e.g. the shelves) with a total quantity, individual lists each shelf on its own line

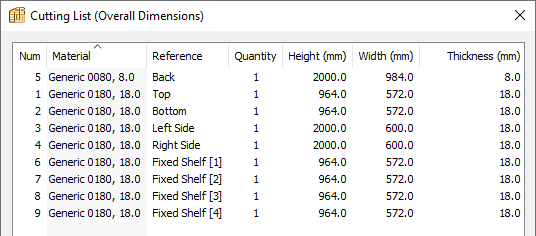
- Overall vs net dimensions = overall includes edging in the dimensions, net does not
- Including oversizing = any oversizing will be added to the dimensions shown
OptiCut options
PolyBoard integrates seamlessly with OptiCut.
It’s possible to configure the integration here including the data fields that are transferred to OptiCut.
We advise initially to retain the default values.
Synchronisation with the post processor export options
This option is primarily used to send additional CNC file data to OptiCut for display on OptiCut’s labels.
We have further details on the synchronisation here:
PolyBoard to OptiCut post processor label synchronisation
Spreadsheet import advice
The cutting list can be loaded into a spreadsheet or other application, and as shown above you can customise your output as required.
We’ve linked here to advice on how to import to Excel.
During the import process select the option to import delimited files with the separator chosen in the Format window.
