Initial set up and overview
PolyBoard Essentials: Next
This guide will help you get started with PolyBoard and provides an overview of the concepts that underpin the software. It also links to additional resources.
To master PolyBoard, and to use it to its full potential, we recommend combining these resources with:
- Our online training packs
- Forum and screen share technical support (included in a Premium Support subscription and provided free of charge with all software orders)
- Please also read the FAQ: What is included with my software order?
This guide and all other resources are available from our Help Centre.
Installation
Download links and advice on installation are available on the software download page in your account, log in to your account here.
New to PolyBoard? Register here to download.
PolyBoard works in conjunction with its Quick Design libraries of hardware, materials and other assembly preferences.
Please make sure you first install PolyBoard, then the Quick Design libraries, which will automatically link to the software. All resources we’ve provided assume you have installed both.
Basic settings
Open PolyBoard
Double click on the PolyBoard icon on your desktop or right click and select open.
Language selection
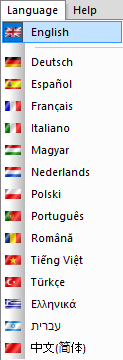
PolyBoard is available in multiple languages, a full list is available here.
Your language can be changed from the Language menu in the main menu:
Units of measurement
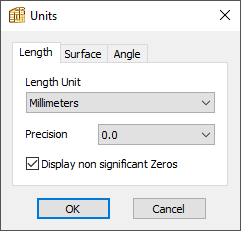
PolyBoard is available in both metric and imperial units. Further preferences can be set to display in mm vs cm, or inches vs feet and inches for example.
Go to the Tools menu > Units to edit your preferences.
Company name in workshop document
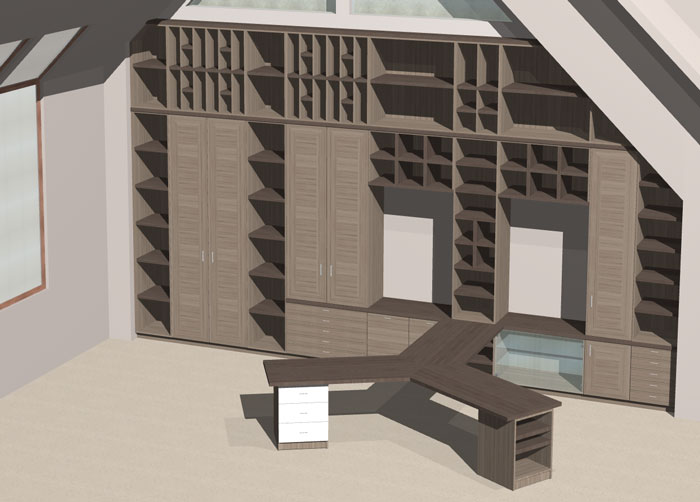
The workshop document (available in the activated version of the software) includes the cut list, plans of each part and a cost report.
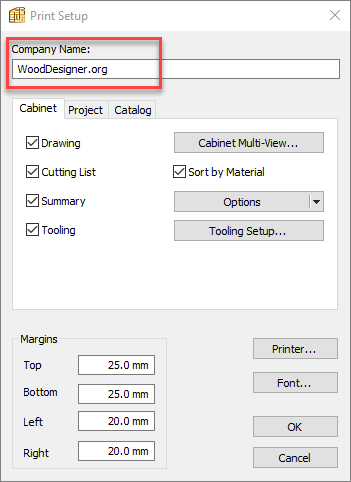
To ensure your company appears on the top of each page (and not the default WoodDesigner.org), go to:
File menu > Print setup
Enter your details where shown below:
3 modes of working
Cabinet mode
For the design of individual cabinets.
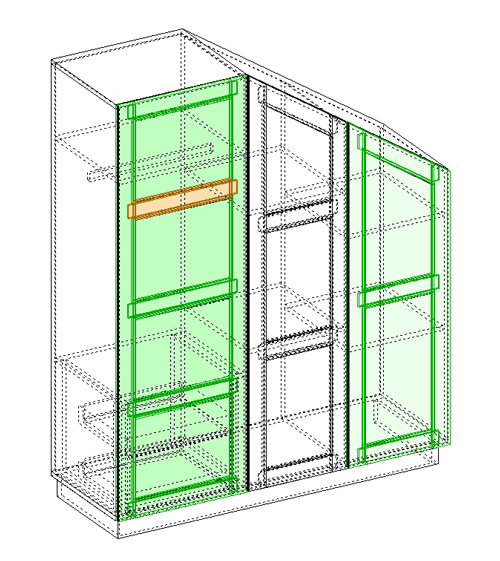
You can design very quickly in PolyBoard but to work even faster we recommend you build up a library of models over time.
It’s then easy to open them up for future jobs and modify as required. Because PolyBoard is parametric, you can adjust the overall dimensions and all parts automatically resize.
And it’s simple to switch design components, just delete your shelves and replace them with drawers for example.
Project mode
Used to create room layouts and place and edit your cabinets and other furniture within this environment.
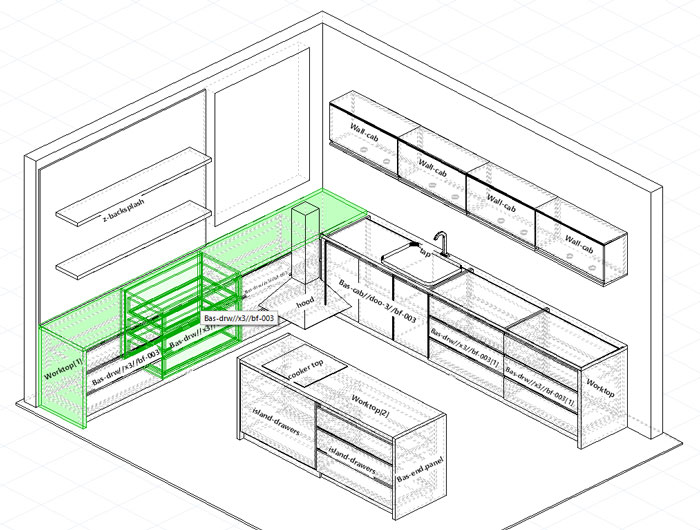
- Great for creating client presentations
- Allows you to check that all cabinets will fit perfectly
- Makes it easy to adjust those cabinets to fit
- Good way to split up complex constructions by assembling several simpler cabinets
To make changes to an individual unit inside a project, double click on it inside the edit window. The model will open inside Cabinet mode where you make your changes.
Close and save, and those changes will be reflected in Project mode.
Catalogue mode
Ideal for fast and accurate bulk manufacture of a pre-existing library of cabinets:
- Add individual cabinets or entire multi cabinet projects to a catalogue for grouped manufacture
- From a single screen, edit their quantities, dimensions, and a variety of manufacturing preferences
- All the manufacturing files are immediately available for the entire catalogue, grouped together and optimised for efficient production
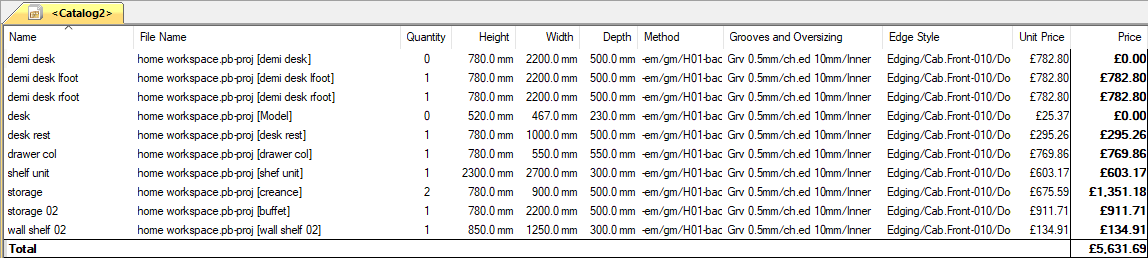
The manufacturing files include:
- A combined cut list, plans and CNC files
- Output for OptiCut and OptiNest or other optimisation software
- More efficient material waste management due to combining the output of multiple projects
- A total cost for the production of all models
More details:
Manufacturing output: catalogue mode
Menu navigation
PolyBoard offers a range of ways to access commands and speed up the design process.
Many commands will only become active when they are available to use. For example:
- Select the location (inner volume) where you would like to add a shelf, the add shelf command will then become available
- Create a space (external volume) below a cabinet to enable the plinth option
- You will only see the Modify and Measuring menus if you have a design open
Quick Design toolbars
The Quick Design toolbars allow fast access to many of the most commonly used functions, grouped across 6 toolbars.
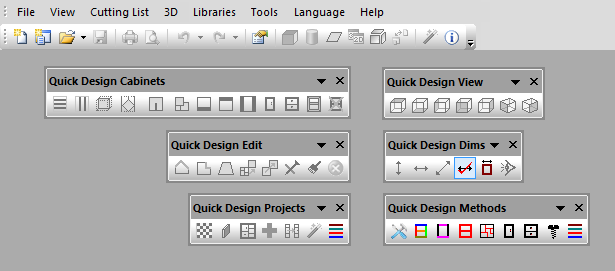
They are activated depending on the design mode you are in, and can be docked at the top of your screen or dragged closer to your design as you prefer.
- Quick Design Cabinets: add cabinet components like doors, drawers and shelves
- Quick Design Edit: additional cabinet editing commands
- Quick Design Projects: add project components like walls, floors and cabinets
- Quick Design View: quickly change the view angle of your project
- Quick Design Dims: measurement tools in Cabinet and Project mode
- Quick Design Methods: access to manufacturing methods and sub-methods
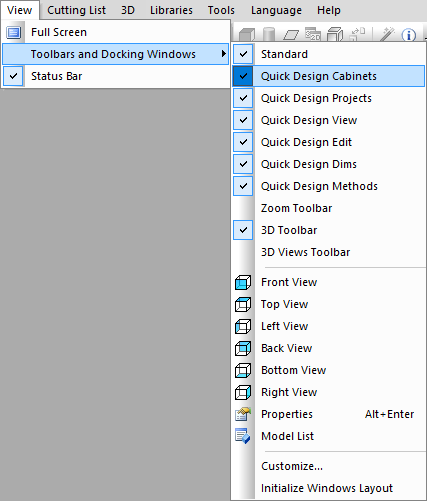
You can also activate and deactivate your toolbars, to do this go to:
View > Toolbars and Docking Windows
Standard menus
A comprehensive set of commands and preferences, with shortcuts to many of them accessible as an icon too.

- File: open and save commands, export features
- Edit: manage panel structures
- View: show/hide components, set view angle and move/zoom your design
- Modify: add and copy design components like shelves, doors etc.
- Measuring tool: vertical, horizontal and diagonal measuring
- Cutting list: additional cutting list export features
- 3D: full list of 3D rendering options
- Libraries: access PolyBoard’s material, hardware and other libraries, and manufacturing methods and sub-methods
- Tools: a range of preferences including units, tooling prices, design component naming and the save/restore feature
- Language: select working language
- Help: to activate the software licence
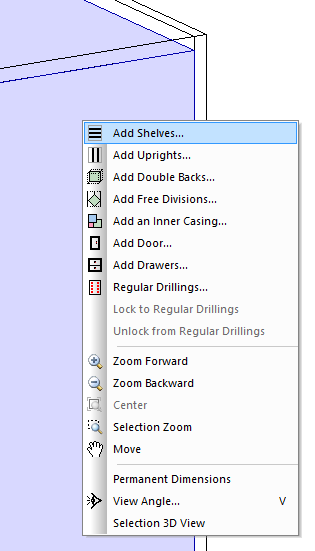
Right click menus
It’s also possible to access a range of commands by hovering over a part and right clicking with the mouse. Or by hovering outside your cabinet or project design and right clicking.
Properties menu
Used to modify a large range of parameters linked to an entire cabinet, project or to a specific part according to what is selected.

PolyBoard Essentials: Next