This article focuses on how to measure stairs, and forms Part 1 of our guide Stairs: Taking Sizes.
There’s a link to Part 2 at the bottom of the page.
Introduction
One of the most important tasks that faces a stair builder is taking the on site dimensions of the stairwell.
The on site sizes are the foundation of the whole job and the difficulty for a professional is that it’s not always feasible to return to the site to verify or take a missing dimension.
If you’re an amateur you might be able to go back and forth from site to workshop but in all cases a complete and methodical attitude to taking the original sizes is a must and can save endless hours and sometimes make or break a stair project.
The objective in taking sizes is to be able to draw an exact plan of the stairwell at the positions that the stair interacts with it.
The more precise and detailed this plan the easier it will be to design a stair that fits the stairwell. 100% precision is nearly impossible to acquire but one should certainly aspire to get as near as possible.
One should always keep in mind that the stair should be built to a precision of +/-1mm whereas the stairwell will in general be more or less +/- 10mm. And in certain circumstances more like +/-20mm.
Minimum play
As it’s impossible to measure the exact geometry of the stairwell, it’s easier to install a stair slightly smaller than the stairwell and add fillers while it would be almost impossible to cut down a stair that’s too big.
With this in mind a stair should be designed smaller that the stairwell dimensions.
In my experience a minimum play across two walls that are fairly regular is 10 mm whereas in renovation work with irregular walls 20 mm play is often a minimum.
The golden rules
1. Always use one unit of measure
If you work in millimetres all measurements must be in millimetres, don’t mix millimetres, centimetres and metres. If you follow this rule you’ll avoid errors like whether one meter fifty means 1050 mm or 1 meter and 50 cm.
2. Take more measurements than necessary
Take the same measurement at least twice and from different angles.
Cross reference your measurements so that one will confirm or invalidate another.
3. Take plenty of photos!
If there are lots of details it will be difficult to remember everything.
In today’s world of digital cameras it’s easy and cheap to take photos so don’t hesitate to take a maximum number of photos.
Basic measuring tools
These are the tools that I have found over the years to be the most useful when measuring up a stairwell.
I have tried many different high tech solutions and often reverted back to simpler means, after finding that simple when used methodically is often better than complicated.
Meter and/or laser meter
Of course the basic tool for measuring remains the meter rule or tape measure. A good heavy duty tape measure is enough for taking most sizes. If you find yourself often taking stairwell dimensions I would suggest that you invest as well in a laser meter. The laser meter is the only high tech tool that I strongly recommend.
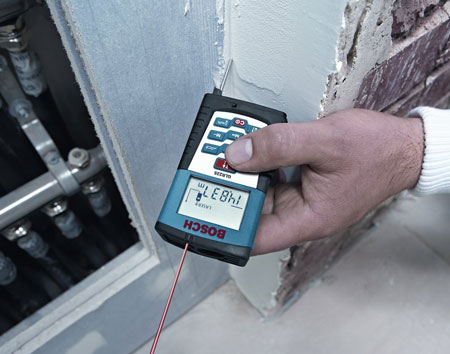
It will make it far easier to measure across stairwells, floor heights and a host of other situations that although possible with a traditional tape measure are faster and easier to do with a laser meter.
If possible always buy a laser meter with a pointed or extendable back stop that allows measuring into corners.
A must for stair triangulation!
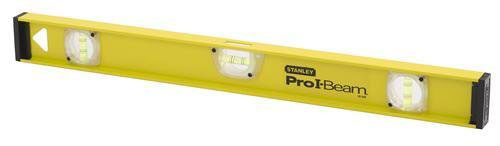
Spirit levels and laser levels
These are the tools you need to verify that floors are level and walls are plumb.
I personally have 2 or 3 of different lengths of spirit levels: 600 mm, 1 m and 2 m.
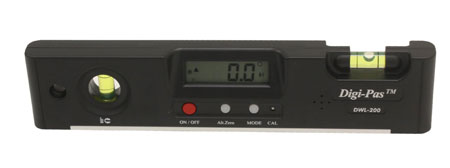
If you can afford it a digital level can be good way of measuring directly the incline of a floor or wall but it will be necessary to lay it on different straight edges to get the inclination between two specific points. Digital levels usually double up with as spirit levels so you get the best of both worlds, although they are of course more expensive.
If you’re only an occasional stair builder a couple of ordinary spirit levels are enough to do a good job.
Laser level/plumb line
Another tool that although not indispensable can be of great help in certain circumstances is the laser level/plumb line.

Although used rarely, I use a laser level as a plumb line in complex situations when it’s necessary to project vertically the position of a specific element. This can be very useful when stairwell walls are not plumb and you have to align different floor sections (see the measuring from a pole
section further on).
Long square/laser square/adjustable square
It’s important to measure and verify the angles of a stairwell.
This can be done by triangulation but I have found that in practice it can be easier and more precise to use an adjustable square.
You can use a sliding bevel but in most cases this tool will be too small to get the overall angle.
As walls are not always very straight you’ll need a longer adjustable square that will lay across a large surface and not sink into small local hollows near the angle you’re measuring.
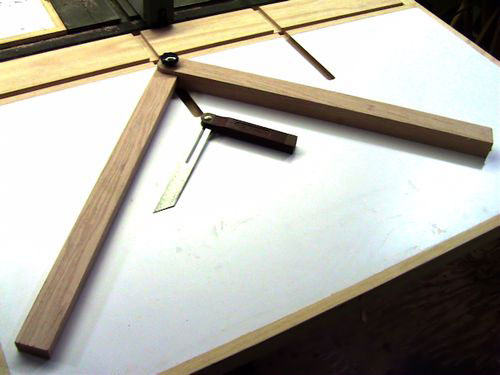
It’s very easy to make a simple adjustable square with scrap wood as in the photo top right.
A more precise version of a simple metallic or wooden square is the laser square bottom right that projects a rightangled cross.

It is very neat for measuring some angles but I have found that it can’t replace a simple square for measuring stairwell corners.
My favourite tool for measuring angles is the adjustable square that has a mechanical or digital read off of the angle. This neat tool is really a square, a protractor, a sliding bevel and a spirit level all in one.
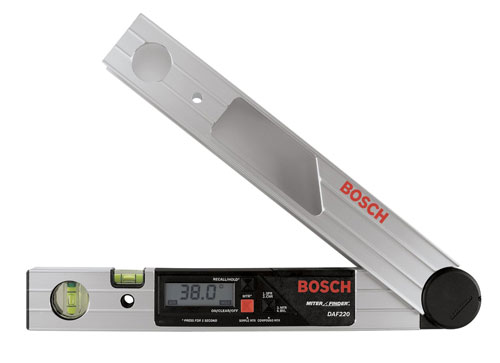
It will measure the angles, and as it has an integrated spirit level you can measure slopes as well as use it as a simple spirit level.
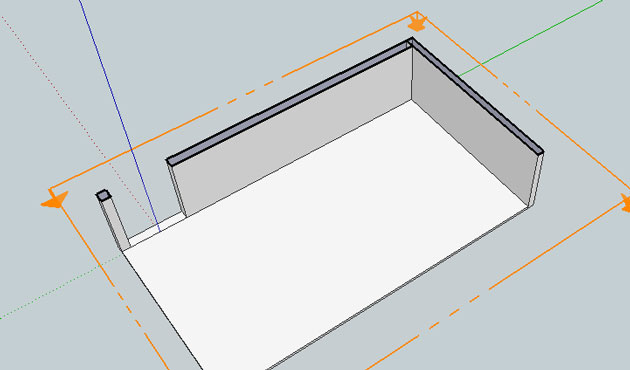
Preliminary sketches
Before taking the sizes it’s good to have an approximate idea of where you want the stair to start and arrive.
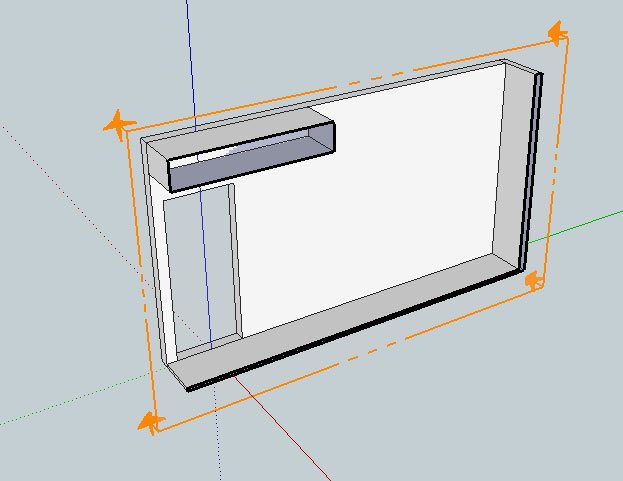
Here’s how I set up the basic sketches to write down the stairwell sizes.
First section that shows the lower floor
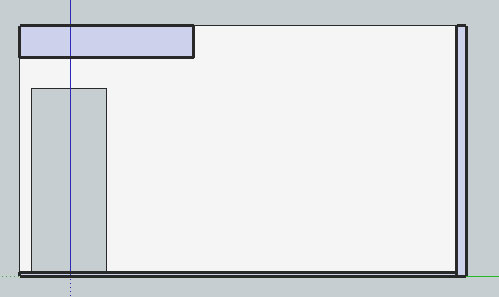
Second sketch that shows the upper floor
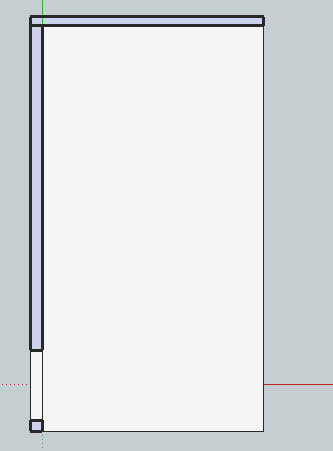
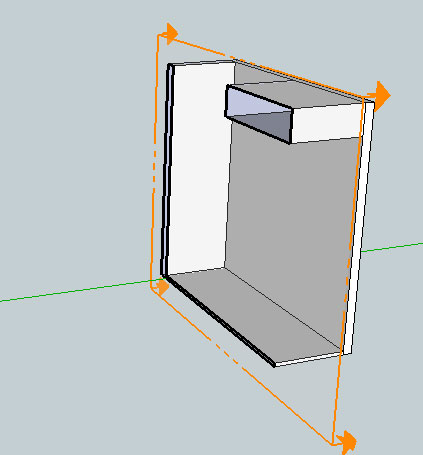
Third sketch that shows the elevation section
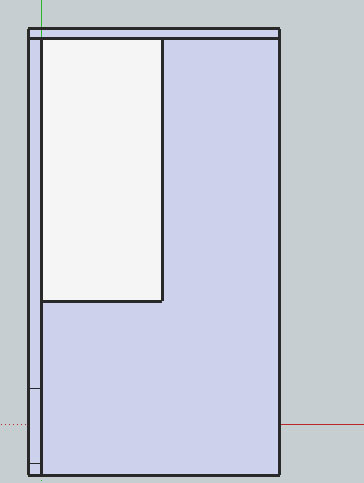
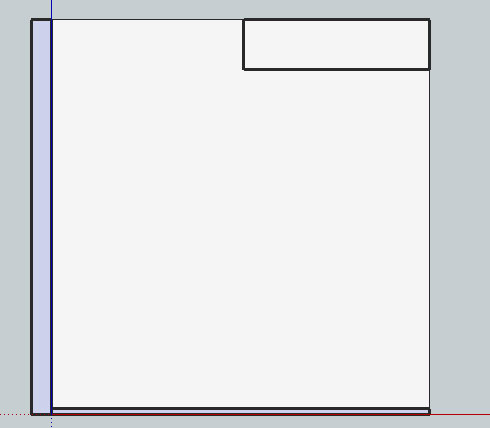
Fourth sketch that shows the left view section
The 2nd and final part of this guide can be found here, covering the basic measurements required and how to manage tricky situations like irregular walls and floors.
If you want to test out our stair software, you can download StairDesigner here.
[…] Here’s a link to Part 1: How to Measure Stairs […]