How to manually input your cutting list by entering the details of each panel you need one by one.
In the last 2 videos we showed how to set up the materials and the list of panels you have in stock.
In this video we going to show you how to write the cutting list into OptiCut.
Let’s start a new list by clicking on the New Panels Cutting List button in the top menu on the left.
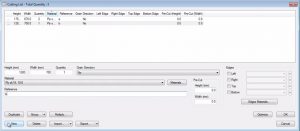
In the Cutting List dialogue box click on New to add an item (required panel to be cut) to the list.
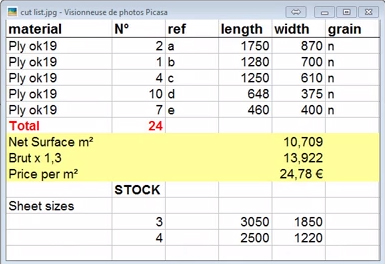
In the Height box use the length of the first panel, 1750mm. In the Width box add the width, 870mm. Then add the quantity which is 2.
For the Grain Direction drop down box in this case select No because it isn’t important for this particular cutting list.
Then select the Material Ply ok 19 which has already been set up in the Materials Set Up video. As a reference we’ve got ‘a’.
For the time being, leave the other options as they are.
For information, the Pre Cut section enables us to do a trim cut on the edge of the panel before we start cutting our real parts.
Edges enables us to add edging to each panel, so the panel will be reduced in size by the thickness of the edging you will be adding on to it during manufacturing.
Click on New again to add another item to our cutting list which is 1280mm by 700mm and the quantity is 1. The material remains the same, the reference here is ‘b’.
We continue adding all items to the cutting list until complete.
We can go ahead and optimize this cutting list because we have set up the materials and the stock of panels we hold.
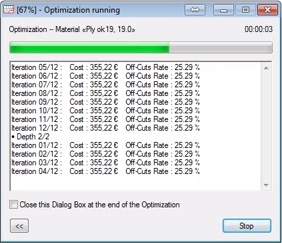
Click on Optimize and OptiCut sets up and runs the optimization.
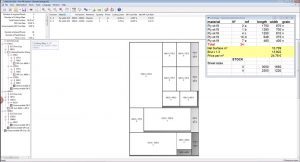
Click Close when complete to get all the cutting maps.
In future videos we will be looking at some of the more advanced parameters that will make your optimization even more efficient and will save you even more material.
Click here for more information on OptiCut


