Labels
OptiCut offers complete flexibility in label output to support your production workflow. Here is an example sheet of labels with selected data fields added.
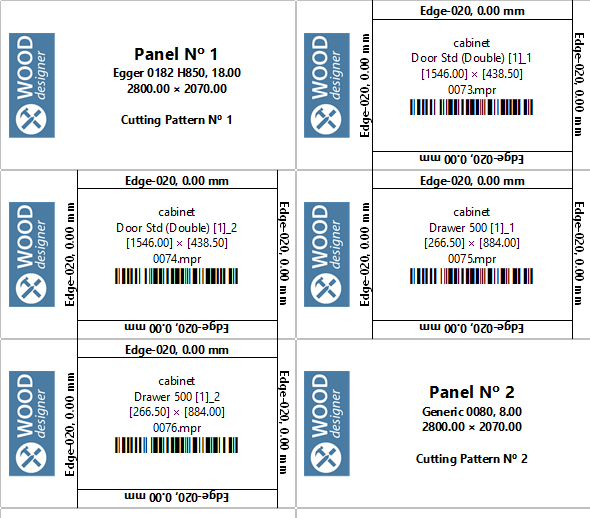
Go to File menu > Labels setup to view label options.
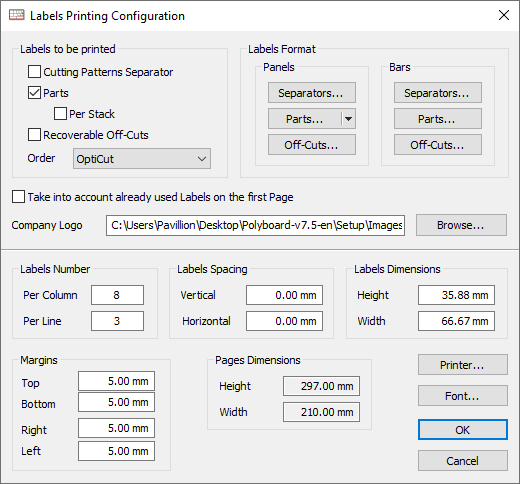
Labels to be printed
Select any or all of:
- Cutting pattern separator (panel label)
- Parts
- Off-cuts
Order
Labels can be printed in the following orders:
- OptiCut = defined by cutting sequence
- Increasing strips = same as OptiCut but if there is a full off-cut strip, it starts with the off-cut label
- Decreasing strips = reverses the cutting sequence and starts with the off-cut label if there is a full off-cut strip
Label format
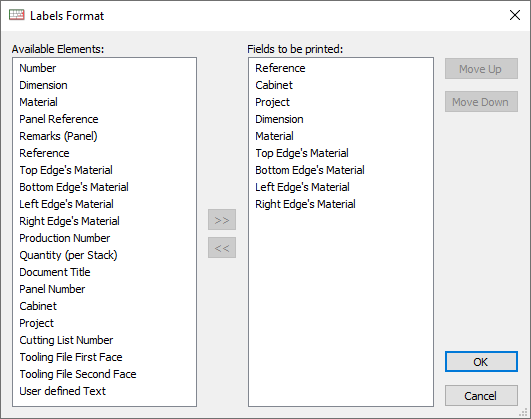
Fields for display on the labels are defined here. As we’ve seen before, it’s simple to choose and order desired fields within this window.
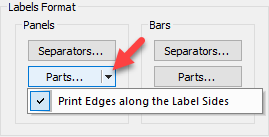
Edging
Labels of panel parts include one extra option, to print the edging along the label sides.
Barcodes
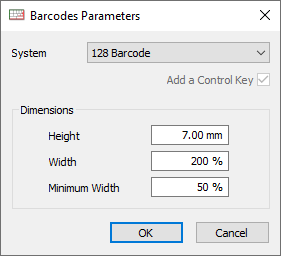
Data fields can be printed as a barcode.
Select the field in the Labels format window > Options.

Barcode parameters can be accessed from the Tool menu > Barcodes.
Company logo
A logo can be added to the labels. Browse to the required image file to add this, alternatively leave the box empty if you do not wish to show a logo.
Printer and paper configuration
The bottom section of the window refers to the printer and paper set up.
Quick print and touch screen functionality
OptiCut includes a Quick print label feature, enabled by clicking on the icon highlighted in the toolbar:
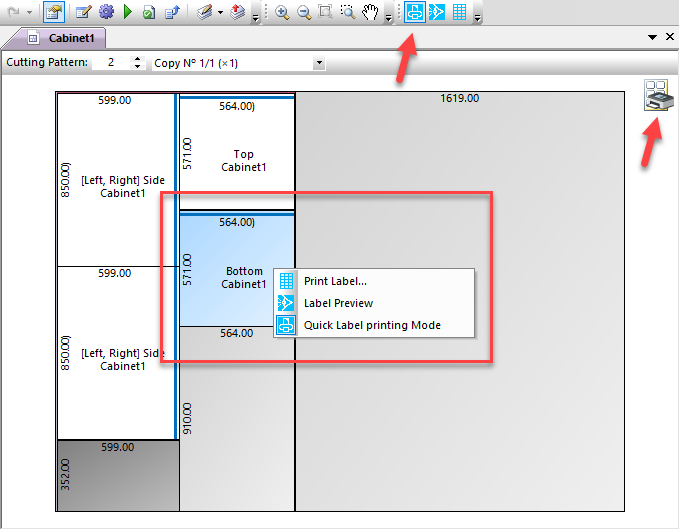
Once activated, a single click on any part will print the required label automatically.
Right click on the part to print or access a print preview of the label.
Quick print works with a touch screen monitor. If you wish to set up an additional workstation for touch screen label printing, we offer a heavily discounted licence to support this set up. Please contact us for details.
