Stock set up
Before optimizing the parts, the stock of material must be configured.
This is done in two stages:
- Add the material names
- Add the stock of those materials, so the panels themselves
Material set up
To view the Panel materials library, go to:
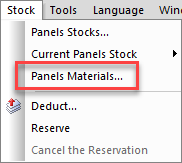
Stock menu > Panels materials:
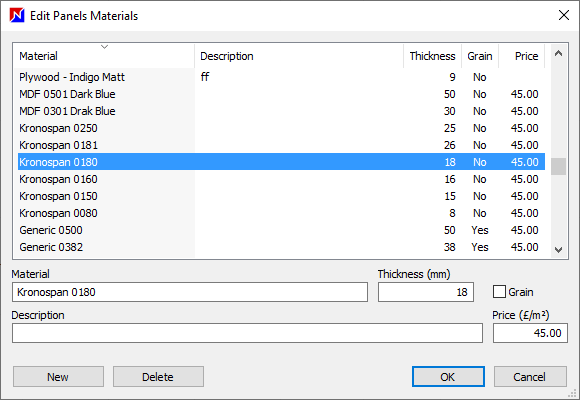
All available materials are listed:
Click on New and enter the details of the material:
- Material (name)
- Thickness
- Description (optional)
- Grain: whether the material has a grain or not (more later)
- Price: of the material itself
A delete material option is available too.
Once you have created your material it can be used for multiple panels of various dimensions.
★ Tip ★
You can right click on any material to access the new, delete and selection options.
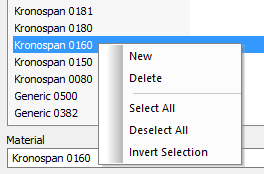
This right click option is available in other windows too, for example when editing panel stock and parts.
PolyBoard integration
If you’re working with PolyBoard and OptiNest together, the materials in OptiNest do not need to be set up, they will be populated automatically from PolyBoard’s material library.
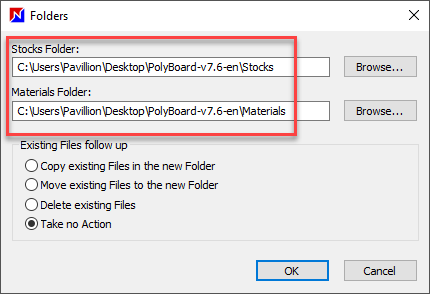
This link is created, and a range of additional settings are configured, when you install PolyBoard’s Quick Design libraries. Please note, OptiNest needs to be installed before installation of the libraries.
In OptiNest, go to Tools > Folders to confirm that the folders shown link back to PolyBoard’s Quick Design libraries.
Material stock set up
With the materials now set up, the next step is to define the stock of panels of those materials.
Go to Stock menu > select the current stock if multiple stocks are set up and then select Edit.

Manual
Stock is listed in the Edit panels materials window.
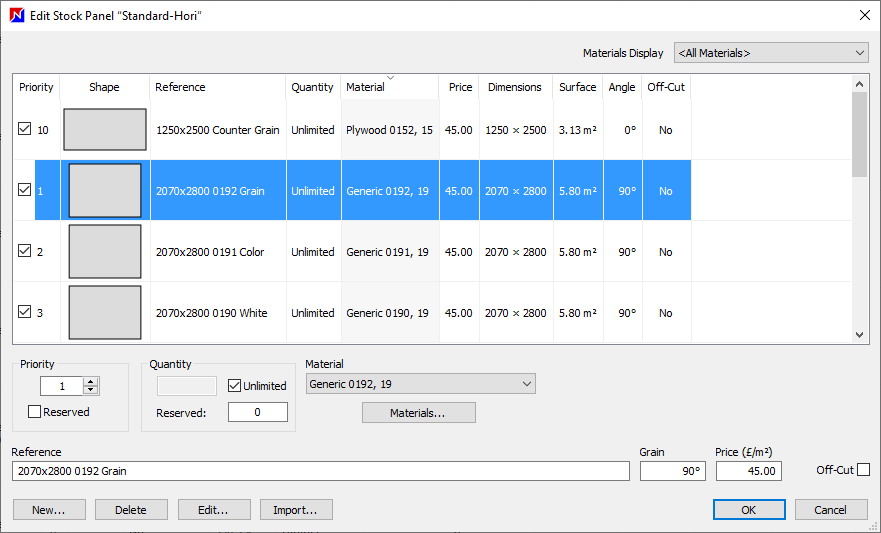
The buttons at the bottom of the window include:
- New: to add a single stock item
- Delete: select a stock item then select this button to delete it
- Edit: this opens an editing window to change the shape to a non-rectangular panel if required
Typically you will be creating square and rectangular stock by selecting the New button. Once selected, the options window opens:
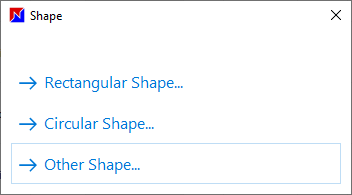
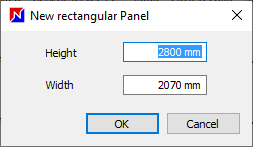
Select Rectangular shape and input the dimensions:
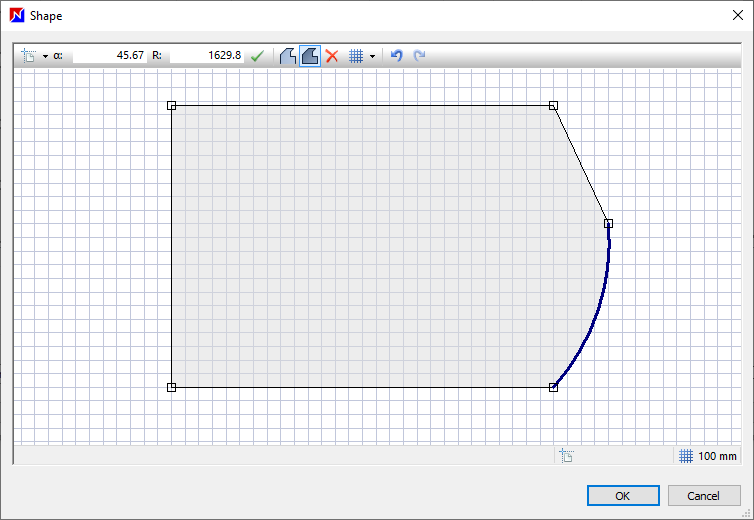
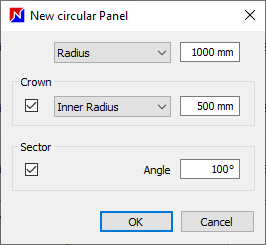
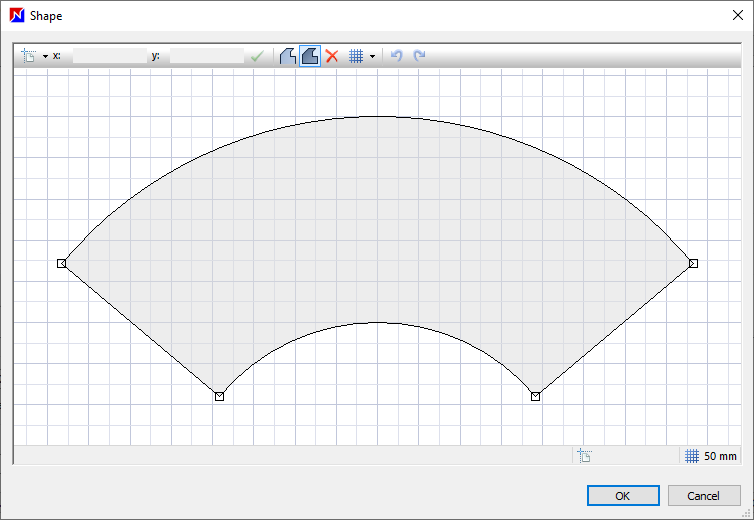
Here is an example panel set up using the Circular shape option, we show the dimensions used and the shape loaded in the editing window:
The final option, Other shape, opens up the shape editing window to create any free-form panel shape.
Stock parameters can be edited in the main stock list (excluding dimensions and shape) and include:
- Priority: manages off-cut re-use and de/activating a material
- Height
- Width
- Reference (optional)
- Drop-down menu linked to the materials list
- Price: informs the cost report, takes priority over material price
- Quantity: enter a number of panels if you are managing stock levels in OptiNest, alternatively select unlimited
- Reserved: exclude from optimizations, check the box to exclude all panels of this stock item or define a number
- Off-cut: identifies whether a stock item is an off-cut from a previous optimization
- Grain: the panel grain direction; for counter grain, adjust the grain by 90°
CSV import
A csv file is a type of text/txt file and consists of lines of data.
Each row relates to a single stock item. The data in a single row defines the parameters of that stock item.
To import stock from a csv file, select the Import button:

Navigate to and select the csv file to import.
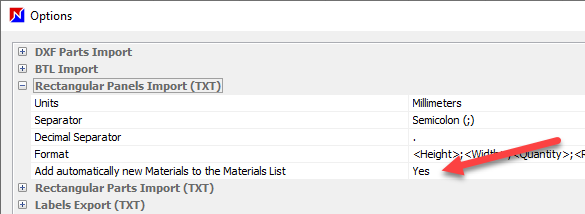
Stock csv import settings can be found in the Tools menu > Options > Rectangular panels import (TXT).
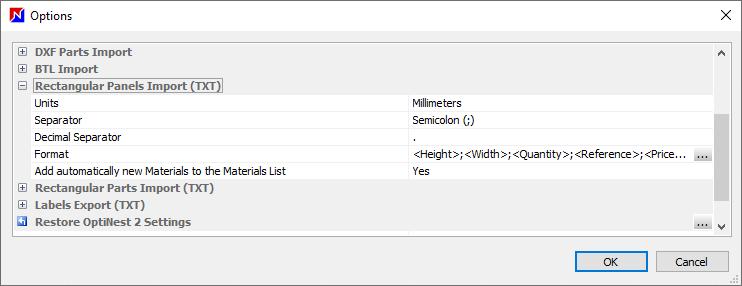
The csv file set up must match the settings here.
Further formatting and column selection options are available by selecting the 3 dot button:
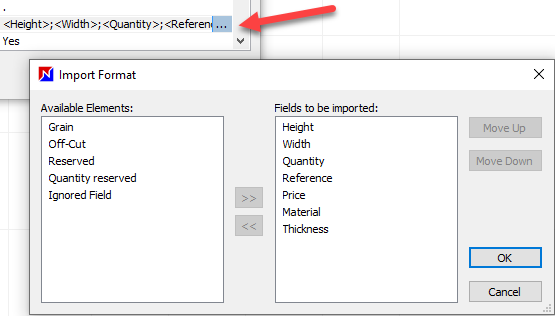
Drag data fields to the right window to apply them, or select and use the centre arrows to move them across. Their position is modified by moving them up and down.
★ Tip ★
Select ‘Yes’ where shown below to automatically add any new materials identified in the import.
DXF import
Panels can be imported as DXF files using the same Import button.
If a DXF file is selected, an additional import window appears.
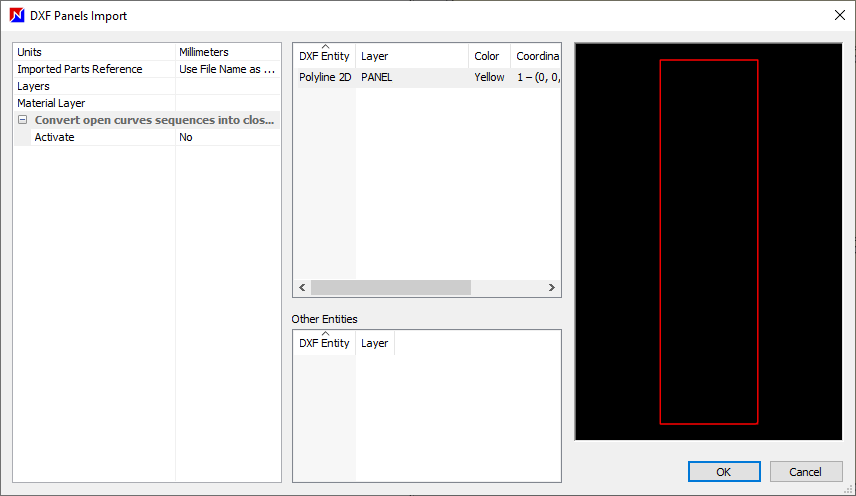
Options to consider:
- Set the units
- If the DXF file has multiple layers, select the appropriate layer
- Set your reference to name the reference field if any
- If the layer is an open curve, convert this to a closed polyline
Multi stock management
Multiple stock groups can be created and selected for any given optimization.
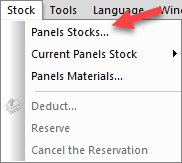
Go to Stock > Panel stocks.
In the Panel stocks window, select New stock, enter a name, double click on that stock to open the Edit stock panel window and start adding panels.
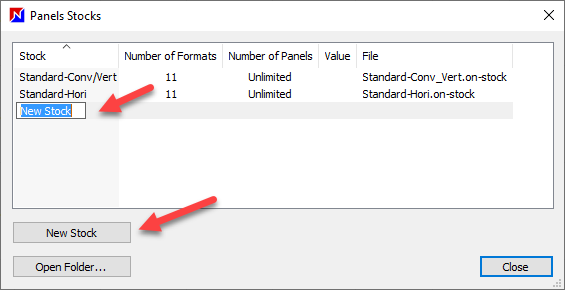
Remember the mouse right click option to delete, rename and duplicate stock.
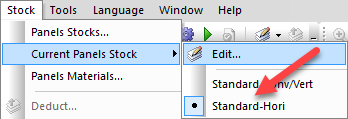
When multiple stocks are available, go to Stock menu > Current panels stock > select your preferred stock.
PolyBoard integration
As with materials, if you’re also working with PolyBoard, the stock will be pre-filled to help you get started.
You can easily edit each stock item or add new ones as shown above.