Initial set up and overview
This Essentials guide focuses on the setup and main features of OptiNest, excluding the output and some extended features.
Please refer to the following Help Centre categories to complete your knowledge of the software:
- Extended features including grain and stock management
- Optimization results and labels
- CNC integration
- All OptiNest resources in the Help Centre
For additional support, we recommend supplementing the Help Centre with:
- Expert technical advice via the Forum and screen share sessions (part of Premium Support and included with all software orders)
- Online support packs
Video presentation of OptiNest’s features
Please watch this video to familiarise yourself with OptiNest’s functionality, which will be covered in detail below.
The video includes the import of a list of parts from our PolyBoard cabinet software, which offers seamless integration with OptiNest. We will highlight some of the powerful benefits of this setup throughout the guide.
OptiNest can also be used as a standalone solution for nesting optimization across a wide range of industries that require the cutting of parts of any shape from sheet materials.
Installation
Download the install file to your computer from our website, then double click on the file or select run to install the software.
You will be asked to activate your software to unlock the full set of features. Please ignore this step if you are testing OptiNest. Following purchase we will send you instructions to complete the activation of your software.
Demo versus full version
The free/demo version allows you to configure stock, import parts and process an optimization.
Optimizations are limited to one nesting pattern visual on screen and not a complete project. The optimization results cannot be exported.
Sample output is however available on the OptiNest download page and include full visuals of all nesting patterns.
You can also contact us to arrange an online demonstration with our technical team.
Basic settings
Open OptiNest
Double click the OptiNest icon on your computer’s desktop or right click on the icon and select open.
Language selection
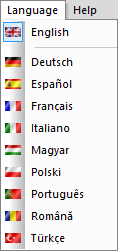
OptiNest is available in a range of languages, view the full list here.
The language selection is made from the Language menu in the main menu:
Units of measurement
Both metric and imperial units are available within OptiNest, and can be selected from the Tools menu > Units.

The level of precision can also be adjusted to suit your preferences.
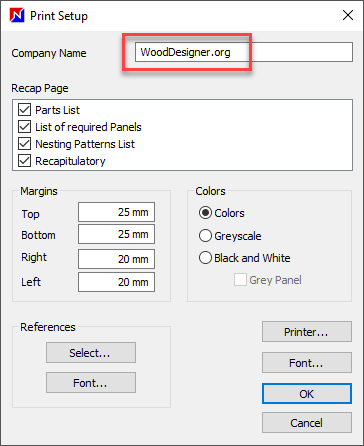
Company name
Printed optimization results can include your company name. To edit this, go to the File menu > Print setup.
Nesting optimization concept
OptiNest is a nesting optimization solution. The software processes a list of parts and places these parts on panel materials in a way that minimises material waste.
The software is specifically designed to provide production files of these nesting maps for nesting CNC machines.
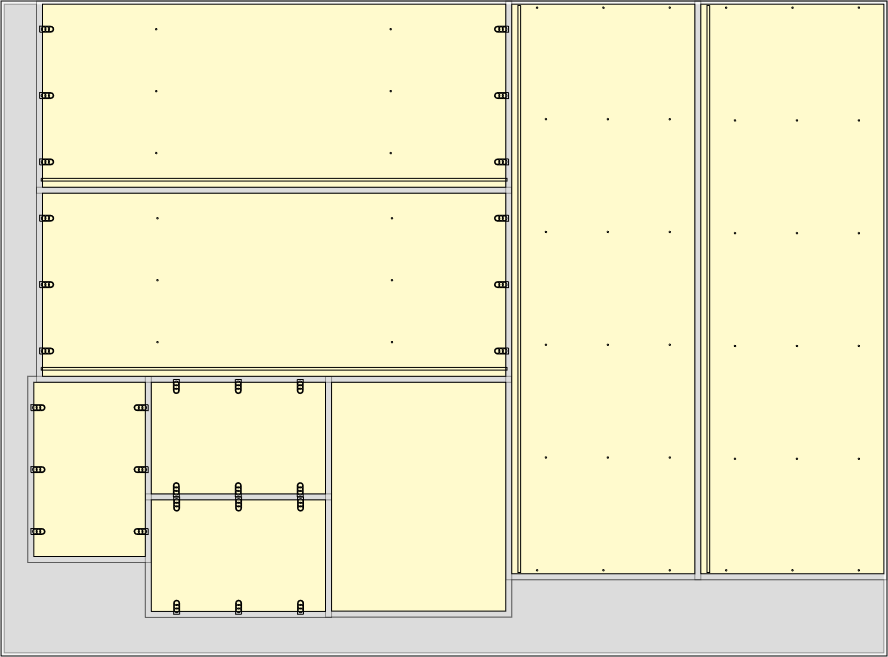
In the case of the woodwork industry the software not only nests the parts but includes all machining details in the output files.
These machining details would typically include drillings and grooves for panel assembly details, hinges and drawer sliders, as shown below:
Optimization parameters can be modified in accordance with your production preferences, balancing the speed of optimization against material savings.
The workflow within OptiNest is as follows:
- Create your stock of panel materials
- Import your list of parts
- Optimize to generate the nesting maps
- Output these results ready for production
OptiNest versus OptiCut
OptiNest creates nested maps of parts specifically for production on a nesting CNC machine. The parts can then be cut from a panel or sheet material on the CNC.
Optionally, the machining details associated with the parts are included, the CNC will then cut and machine the parts in a single operation. This is particularly efficient for custom woodwork businesses.
OptiCut optimizes from a cutting list of parts in the same way. However, the resulting cutting maps or patterns are used to cut the parts using a manual or CNC beam saw.
After this cutting process, optionally each part can be placed on a point-to-point (part-by-part/pod-and-rail) CNC or vertical drilling CNC for machining.
More details:
Point-to-point versus nesting CNC machines
Menu and window navigation
Main menu

Access to the majority of OptiNest’s commands and parameters including:
- File: open and save commands, export commands and printing configuration
- Edit: part management commands, import commands
- View: zoom tools and hide/display options
- Stock: access and edit panel stock, stock deduction feature
- Optimization: process an optimization, access optimization parameters and view optimization results on screen
- Tools: access a range of preferences including units, colour, barcode set up, off-cut management, import/export settings, additional references set up and the save/restore feature
- Language: select the working language
- Window: switch between and arrange windows
- Help: activate the licence
Toolbar

Below the main menu the toolbar offers easy access to commonly used commands including the following specialist commands shown in the red box from left to right:
- View/hide properties menu
- Show parts list
- Optimization parameters
- Run optimization
- View optimization results on screen
- Select/view stock
- Deduct stock (update stock levels following an optimization)
On the far right are quick print icons we will look at later.
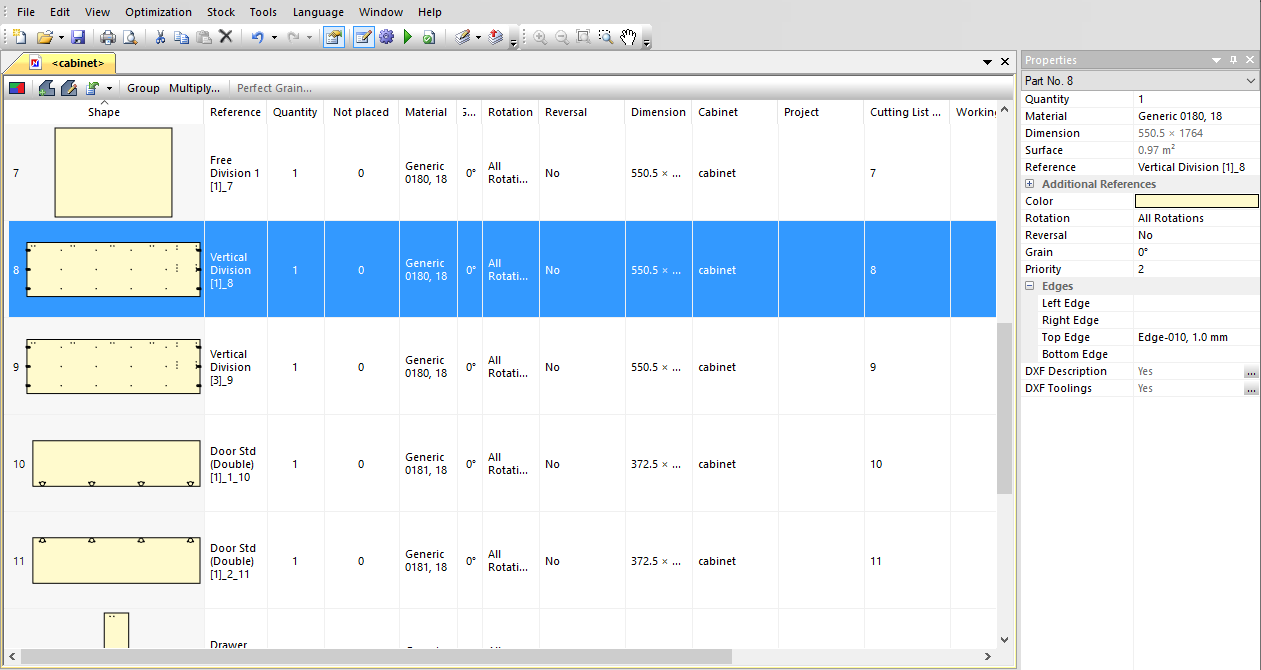
Parts list
The parts list window shows parts that have been imported or created in OptiNest. The Properties window on the right shows parameters for the entire parts list, or individual selected parts.
Optimization result windows
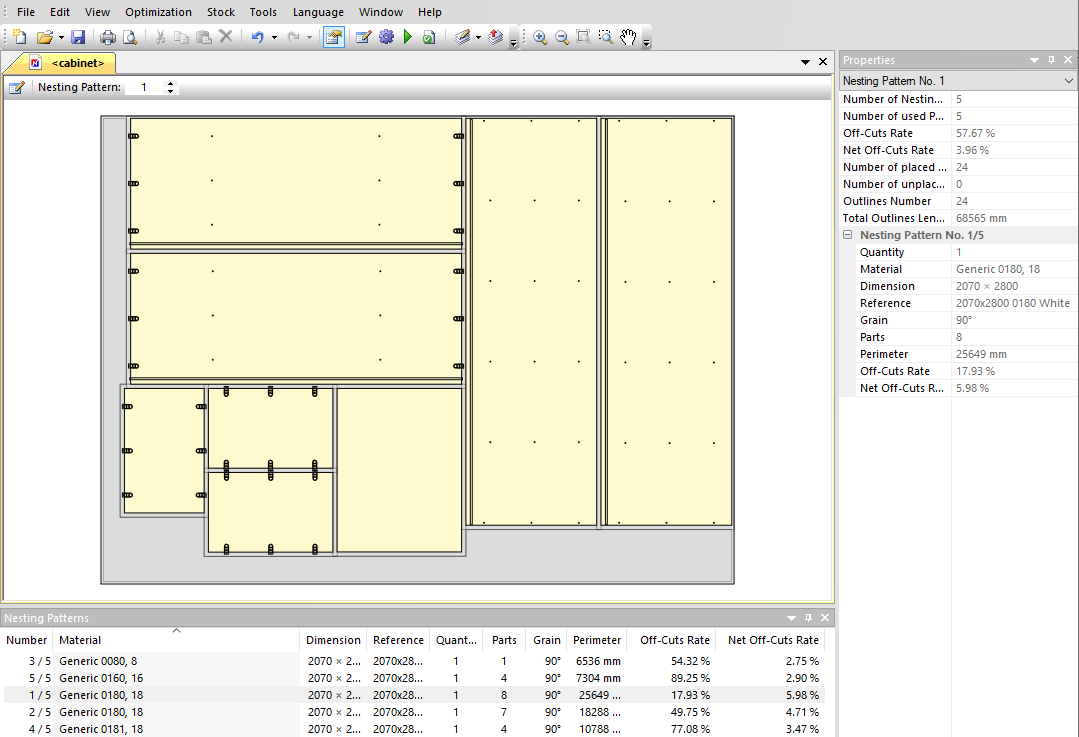
Following an optimization the results are shown across several sections:
- Nesting pattern: the selected nesting pattern/map is shown above the overview
- Nesting pattern overview: a list of all nesting patterns by material, each can be highlighted in turn
- The Properties window provides detailed information on the highlighted pattern
Further details on the optimization results are available here: